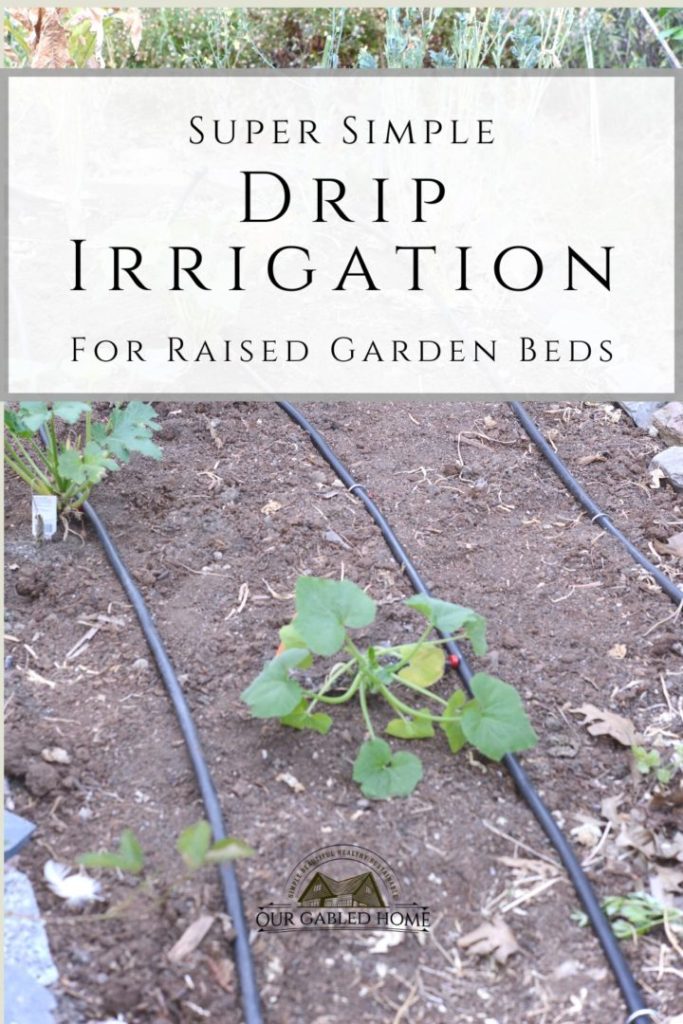
Super Simple Drip Irrigation Setup for Raised Garden Beds
What if I told you that it is super simple to set up drip irrigation for raised garden beds? No more hand watering or unnecessarily wasting water.
If you are tired of watering by hand and/or are dealing with drought conditions, I am here to tell you that it is super simple to set up drip irrigation for your raised garden beds.
What may look somewhat complicated at first, is really no harder than building something with Legos. Trust me!
So, if I can do it – you can do it, too! Let me show you how!
And for clarification, we have two 4′ by 8 ‘ foot garden beds and I am assuming you have something similar. If not, read through the instructions and adjust for your situation and setup.
This post contains affiliate links, which means I make a small commission at no extra cost to you.
Drip Irrigation supplies
When I set up our drip irrigation, we used a mish-mash of older irrigation parts. The frugal people that we are, we started with that and added a repair and expansion kit to it.
However, I suggest that you start with a whole irrigation kit to get started. You can easily find them in your local hardware store or online.
In addition, you might need 4 elbow pieces and 2 T-connectors per garden bed plus some garden staples.
The only other tool I used was a pair of garden pruners and garden gloves. Even though my hands get dirty all the time, I like to pretend that I can keep them somewhat clean.
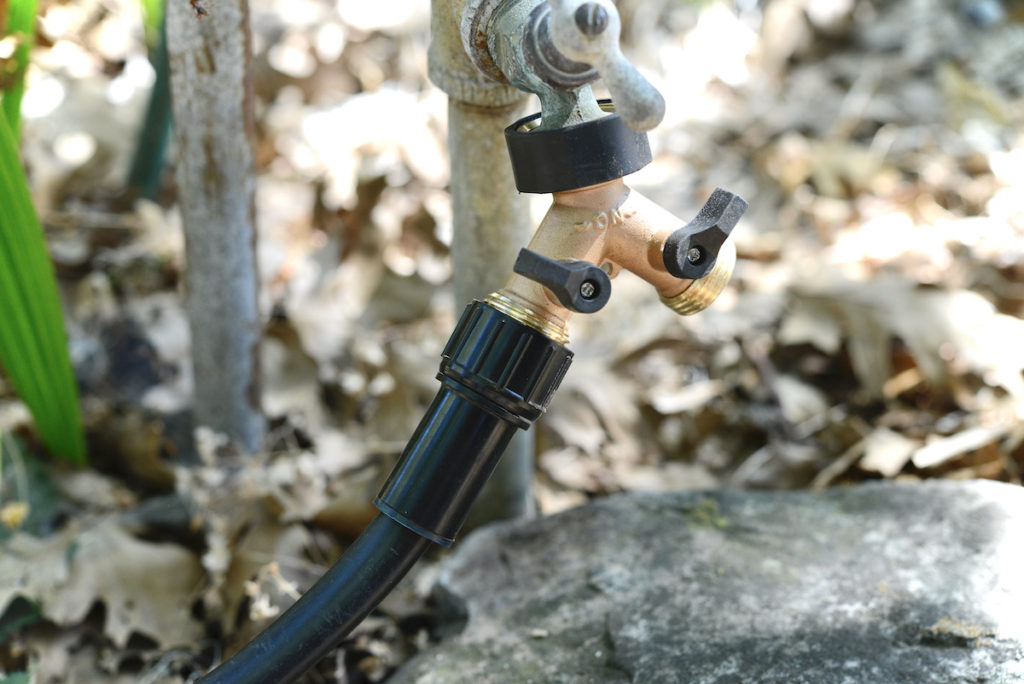
Attaching the irrigation system to your faucet/spigot
The first thing you need to do is attach a diverter to your spigot if you’re running more than one line of tubing. If you’re only running one line, you can skip this step. Make sure to have a rubber or plastic washer in there to keep water from seeping out.
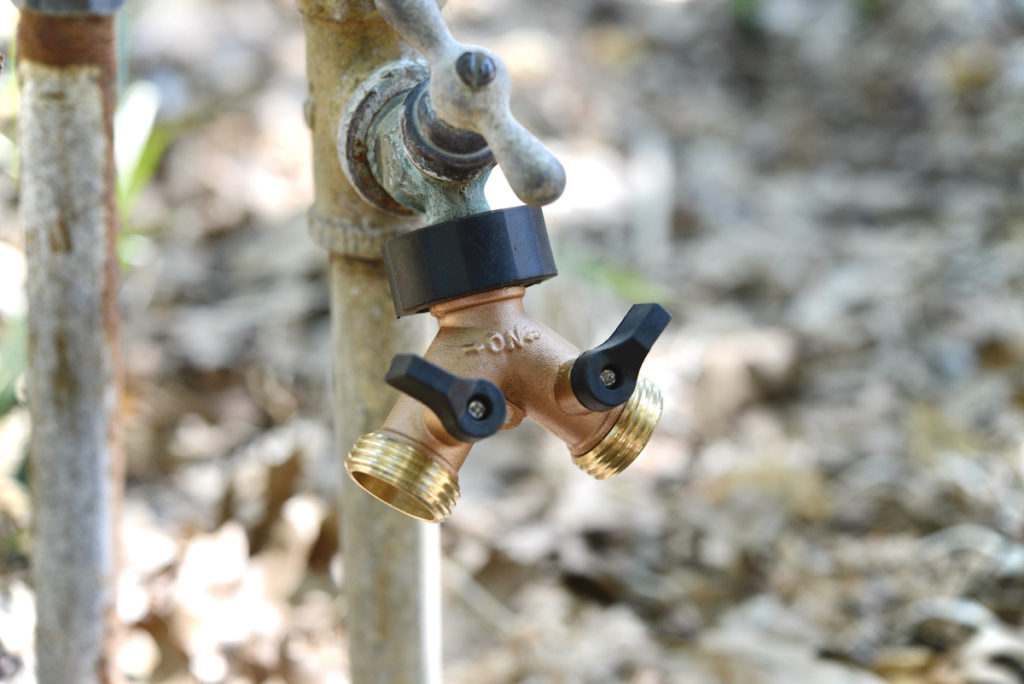
Now, you connect the tubing either directly to your spigot or to the diverter with a connector piece. Again, make sure to insert a rubber or plastic washer to make it tight.
Running the tubing to your garden beds
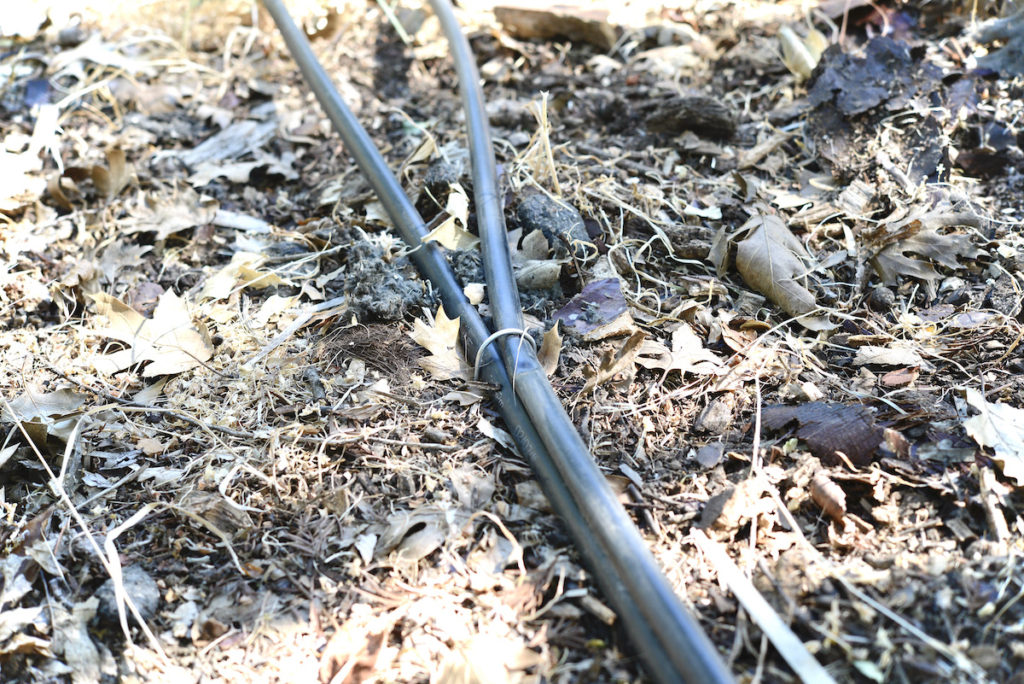
This next step largely depends on the location of your spigot in relation to your garden bed(s). In our case, we had quite a bit of distance to cover. You simply unroll the tubing and cut it very generously where it reaches your garden bed. You can always cut later but it’s a bit harder to add tubing if it’s too short. Ideally, you want the tubing to reach the middle of the short side of your garden bed.
Unless you can hide the tubing under something, it’s a very good idea to secure it with garden staples. That ensures that the tubing stays in place and more importantly, nobody trips over it. I know I have a good spot for a garden staple when I need my foot to drive it in. Just make sure to drive it into the ground and not bend it.
Since we have two garden beds that needed drip irrigation, I ran two lines. I kept them close to each other.
Running tubing up and into the raised garden beds
Running the tubing up and into the raised garden bed is where you might need some additional parts. Again, I like to run the tubing to the middle of the short side of the garden bed.
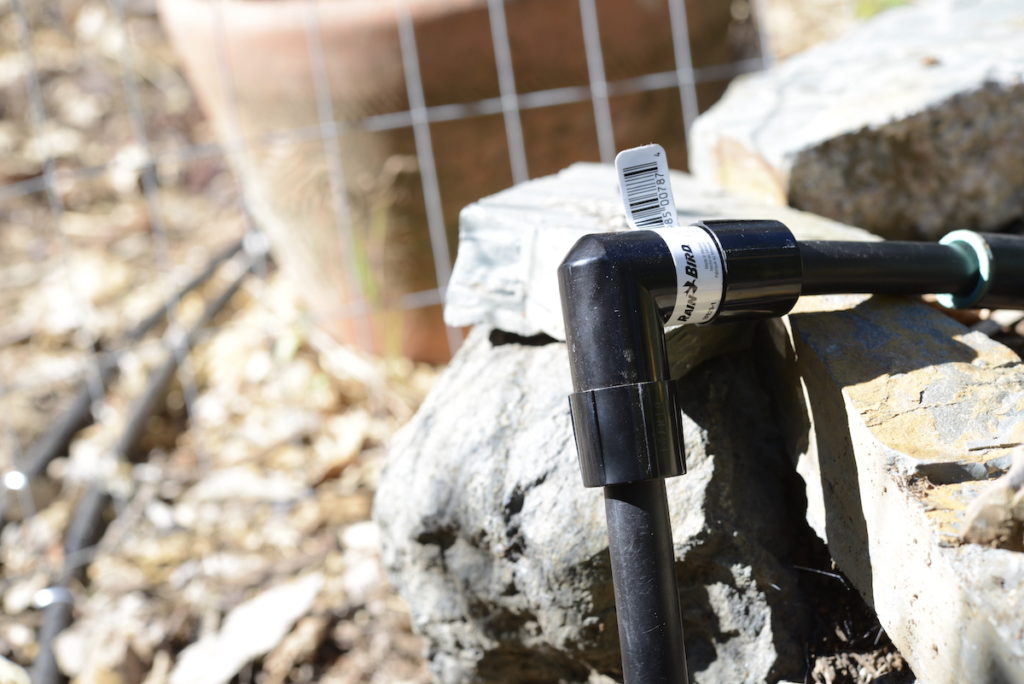
Now, you attach an elbow connector to the tubing.
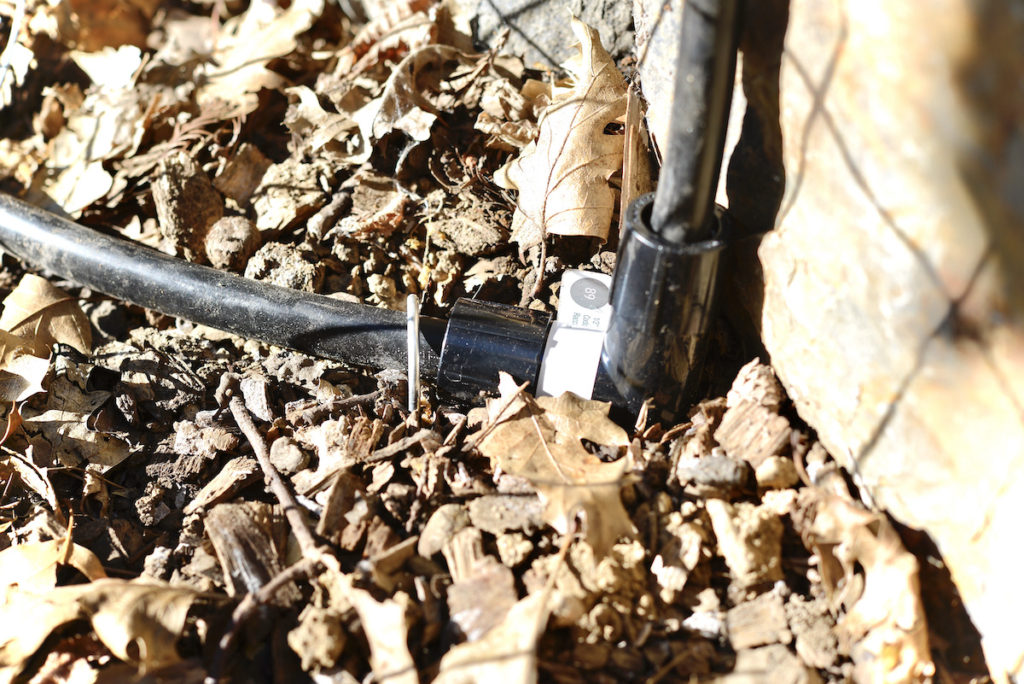
Then you measure the height of your garden bed and cut a piece of tubing that long. This will run the water up.
Attach another elbow connector to run the tubing into the garden bed. If the edges of your garden bed are much higher than the top of the soil you might need some more elbow pieces to run the tubing to the level of the soil.
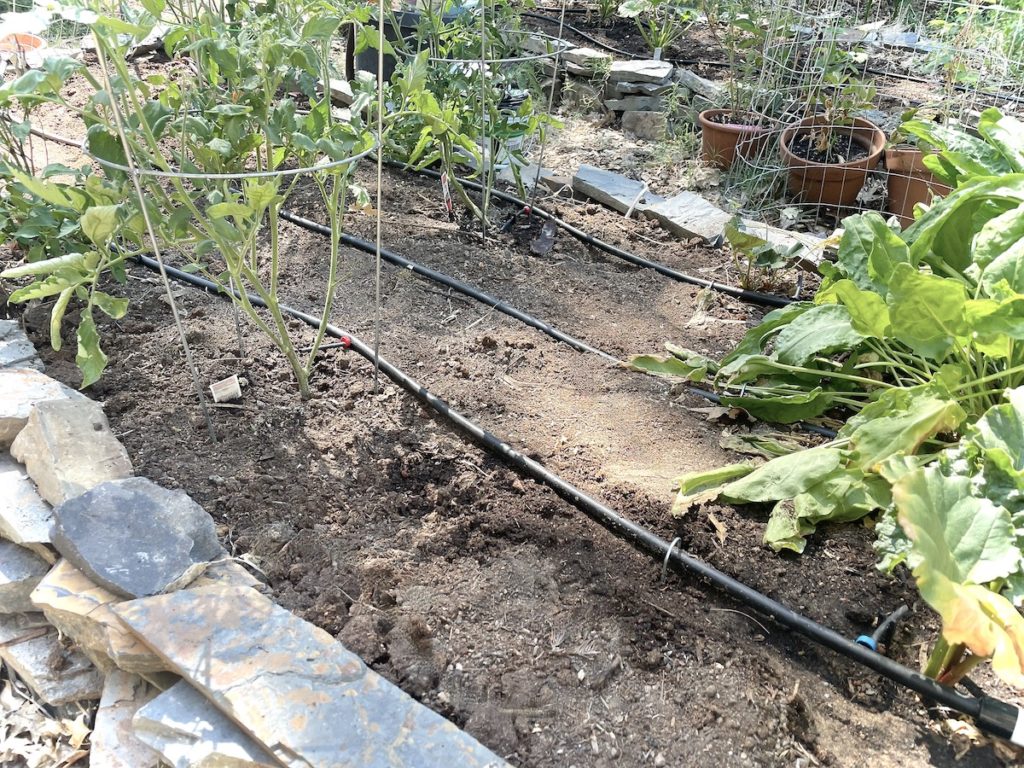
Setting up the main tubing lines in the garden beds
Now, that you have the tubing reaching the soil, it’s time to run the tubing down the long sides of the garden bed. For our 4′ wide bed, I used three lines. Feel free to use more or less depending on your situation.
Take a T-connector and attach it to the tubing so that it can connect both to the left and the right.
Cut a very short piece of tubing, attach it to either side of the T-connector, and attach another T-connector. That is for the middle line if you’re using three lines as I am doing.
Cut two more pieces of tubing that will go to the outer edges of the garden bed and attach them. At their ends, attach an elbow connector each.
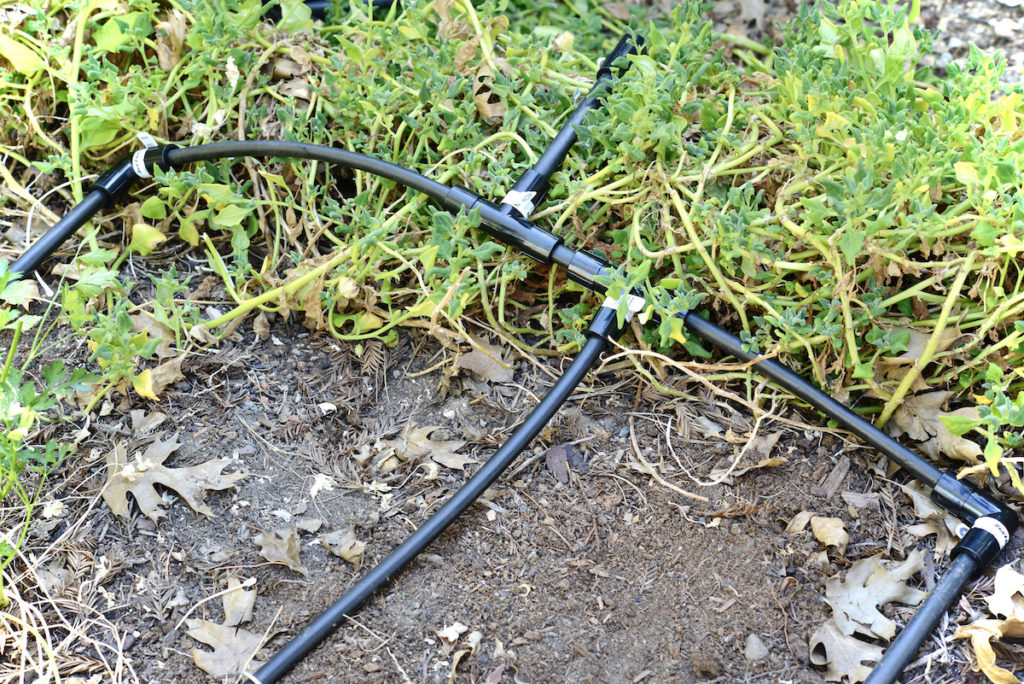
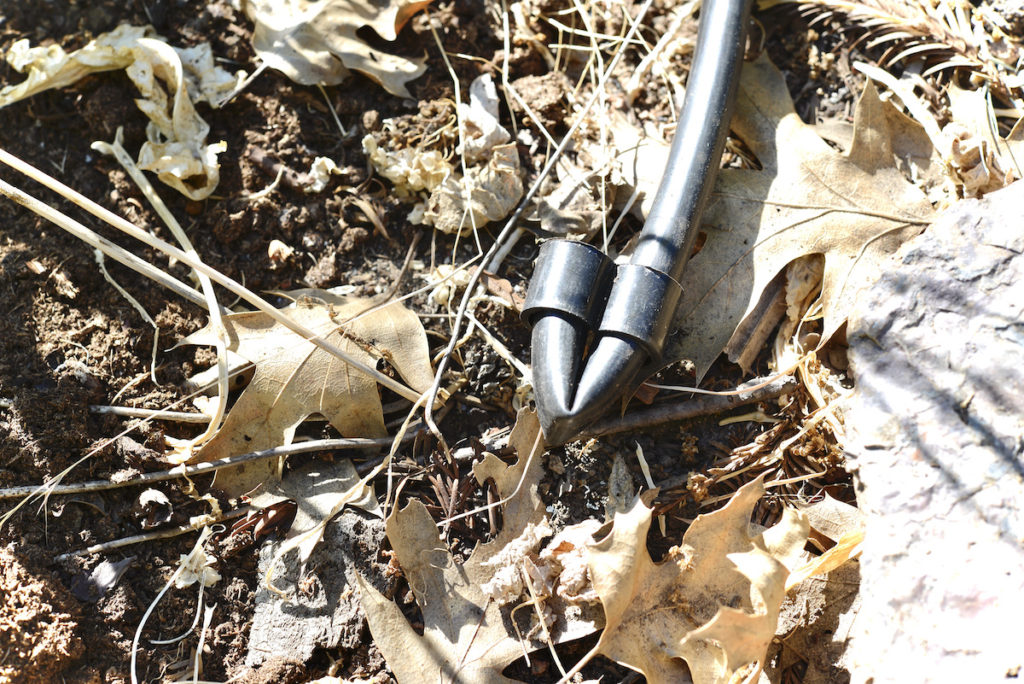
Then, cut 3 pieces of tubing that will go down the length of your garden bed (in my case about 8′ long). At their ends, you can either use an end cap or a figure eight clamp that creates a permanent kink in the tubing.
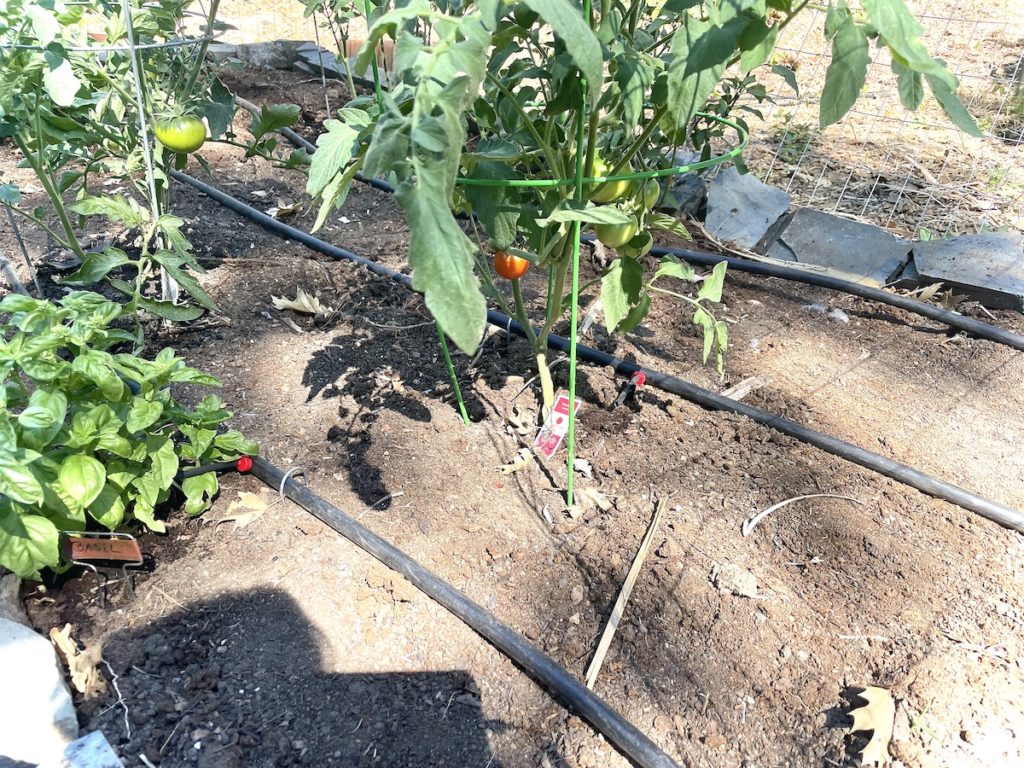
Attaching the drip emitters
Once you have laid down the tubing, it’s time to attach drip emitters close to your plants. There are different sizes depending on how much water you want your plant to receive. Do the best you can, keeping it simple and without overthinking things. You can always adjust and tweak it later!
Most drip irrigation kits contain an emitter installation tool that makes this job very easy. Essentially, you poke the drip emitters right into the main tubing.
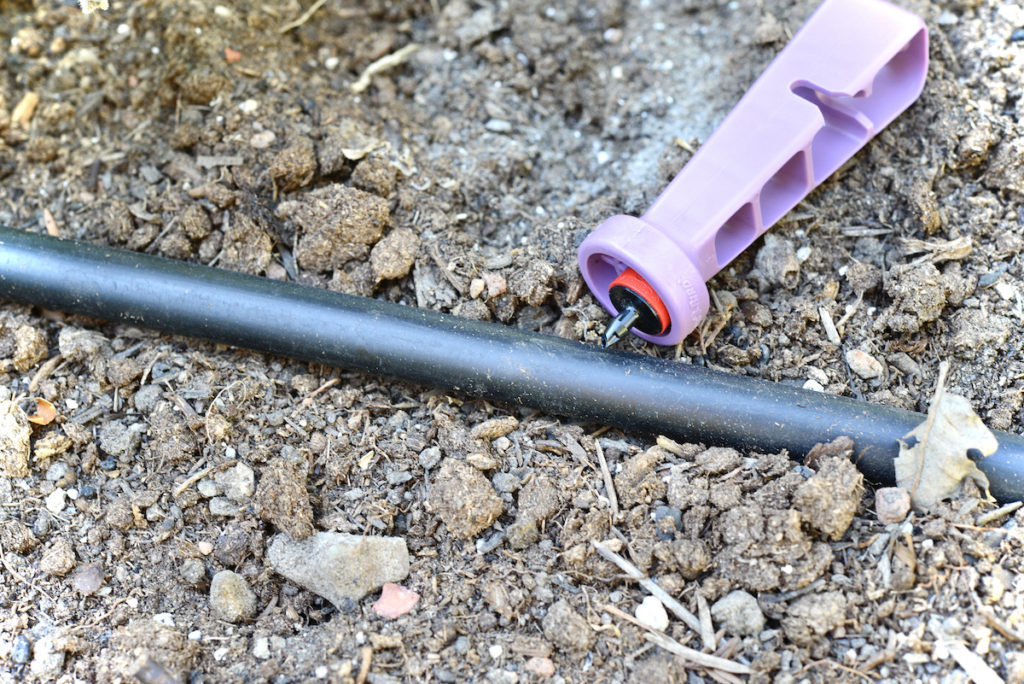
Now you only need to attach a short piece of ¼” tubing to run the water directly to the plant. Repeat this step for all your plants.
Troubleshooting and tweaking
There are a few things that can happen:
- water leaking – possible causes: missing washers, broken parts, connections that aren’t tight. With the repair kit you should be able to fix most of those
- plants not getting enough water – possible causes: tubing too long (water doesn’t get to all the parts), emitters not big enough (use an emitter with a higher amount of water per hour)
- plants getting too much water – possible causes: leaks, emitters too big (choose a lower amount of water per hour)
If you have just set up your drip irrigation, you should monitor your plants for overwatering or underwatering. Sometimes you just need to adjust the length of time you run the drip or how many days per week. It might take some trial-and-error.
Shop this post
Drip irrigation repair & expansion kit
More gardening articles you might like
How to set up raised garden beds with rocks
5+ Garden mistakes I am glad I made
Simple method to save tomato seeds
Do you have any questions about this super simple drip irrigation setup for raised garden beds?
Pin For Later:
I was really needing thick info for my raised bed! First year trying one so it’s nice to hear from someone who’s been at it longer!
Nice! I am so glad you found this helpful ~ Anja
Looking forward to using this in the future!
Great, thank you ~ Anja
I have a big garden and you made this look so easy to set up. I will definitely be using your steps to do this. Thanks for sharing such a lovely post and making it look so easy.
Yes! This is so easy to set up, you can totally do it ~ Anja
Great post! Setting up drip irrigation can be very confusing until you figure it all out. Your instructions are very helpful!
I am so glad you find this helpful ~ Anja
This how to set up a raised bed irrigation system made this daunting task seem easy. I look forward to setting this up in our garden soon!
Yes! It’s so easy! If I can do it, you can do it ~ Anja
My bf and I are currently planning how to add drip irrigation to our beds for next year – so this is such timely advice! Thank you!
Great! Have fun building your garden beds and adding irrigation ~ Anja