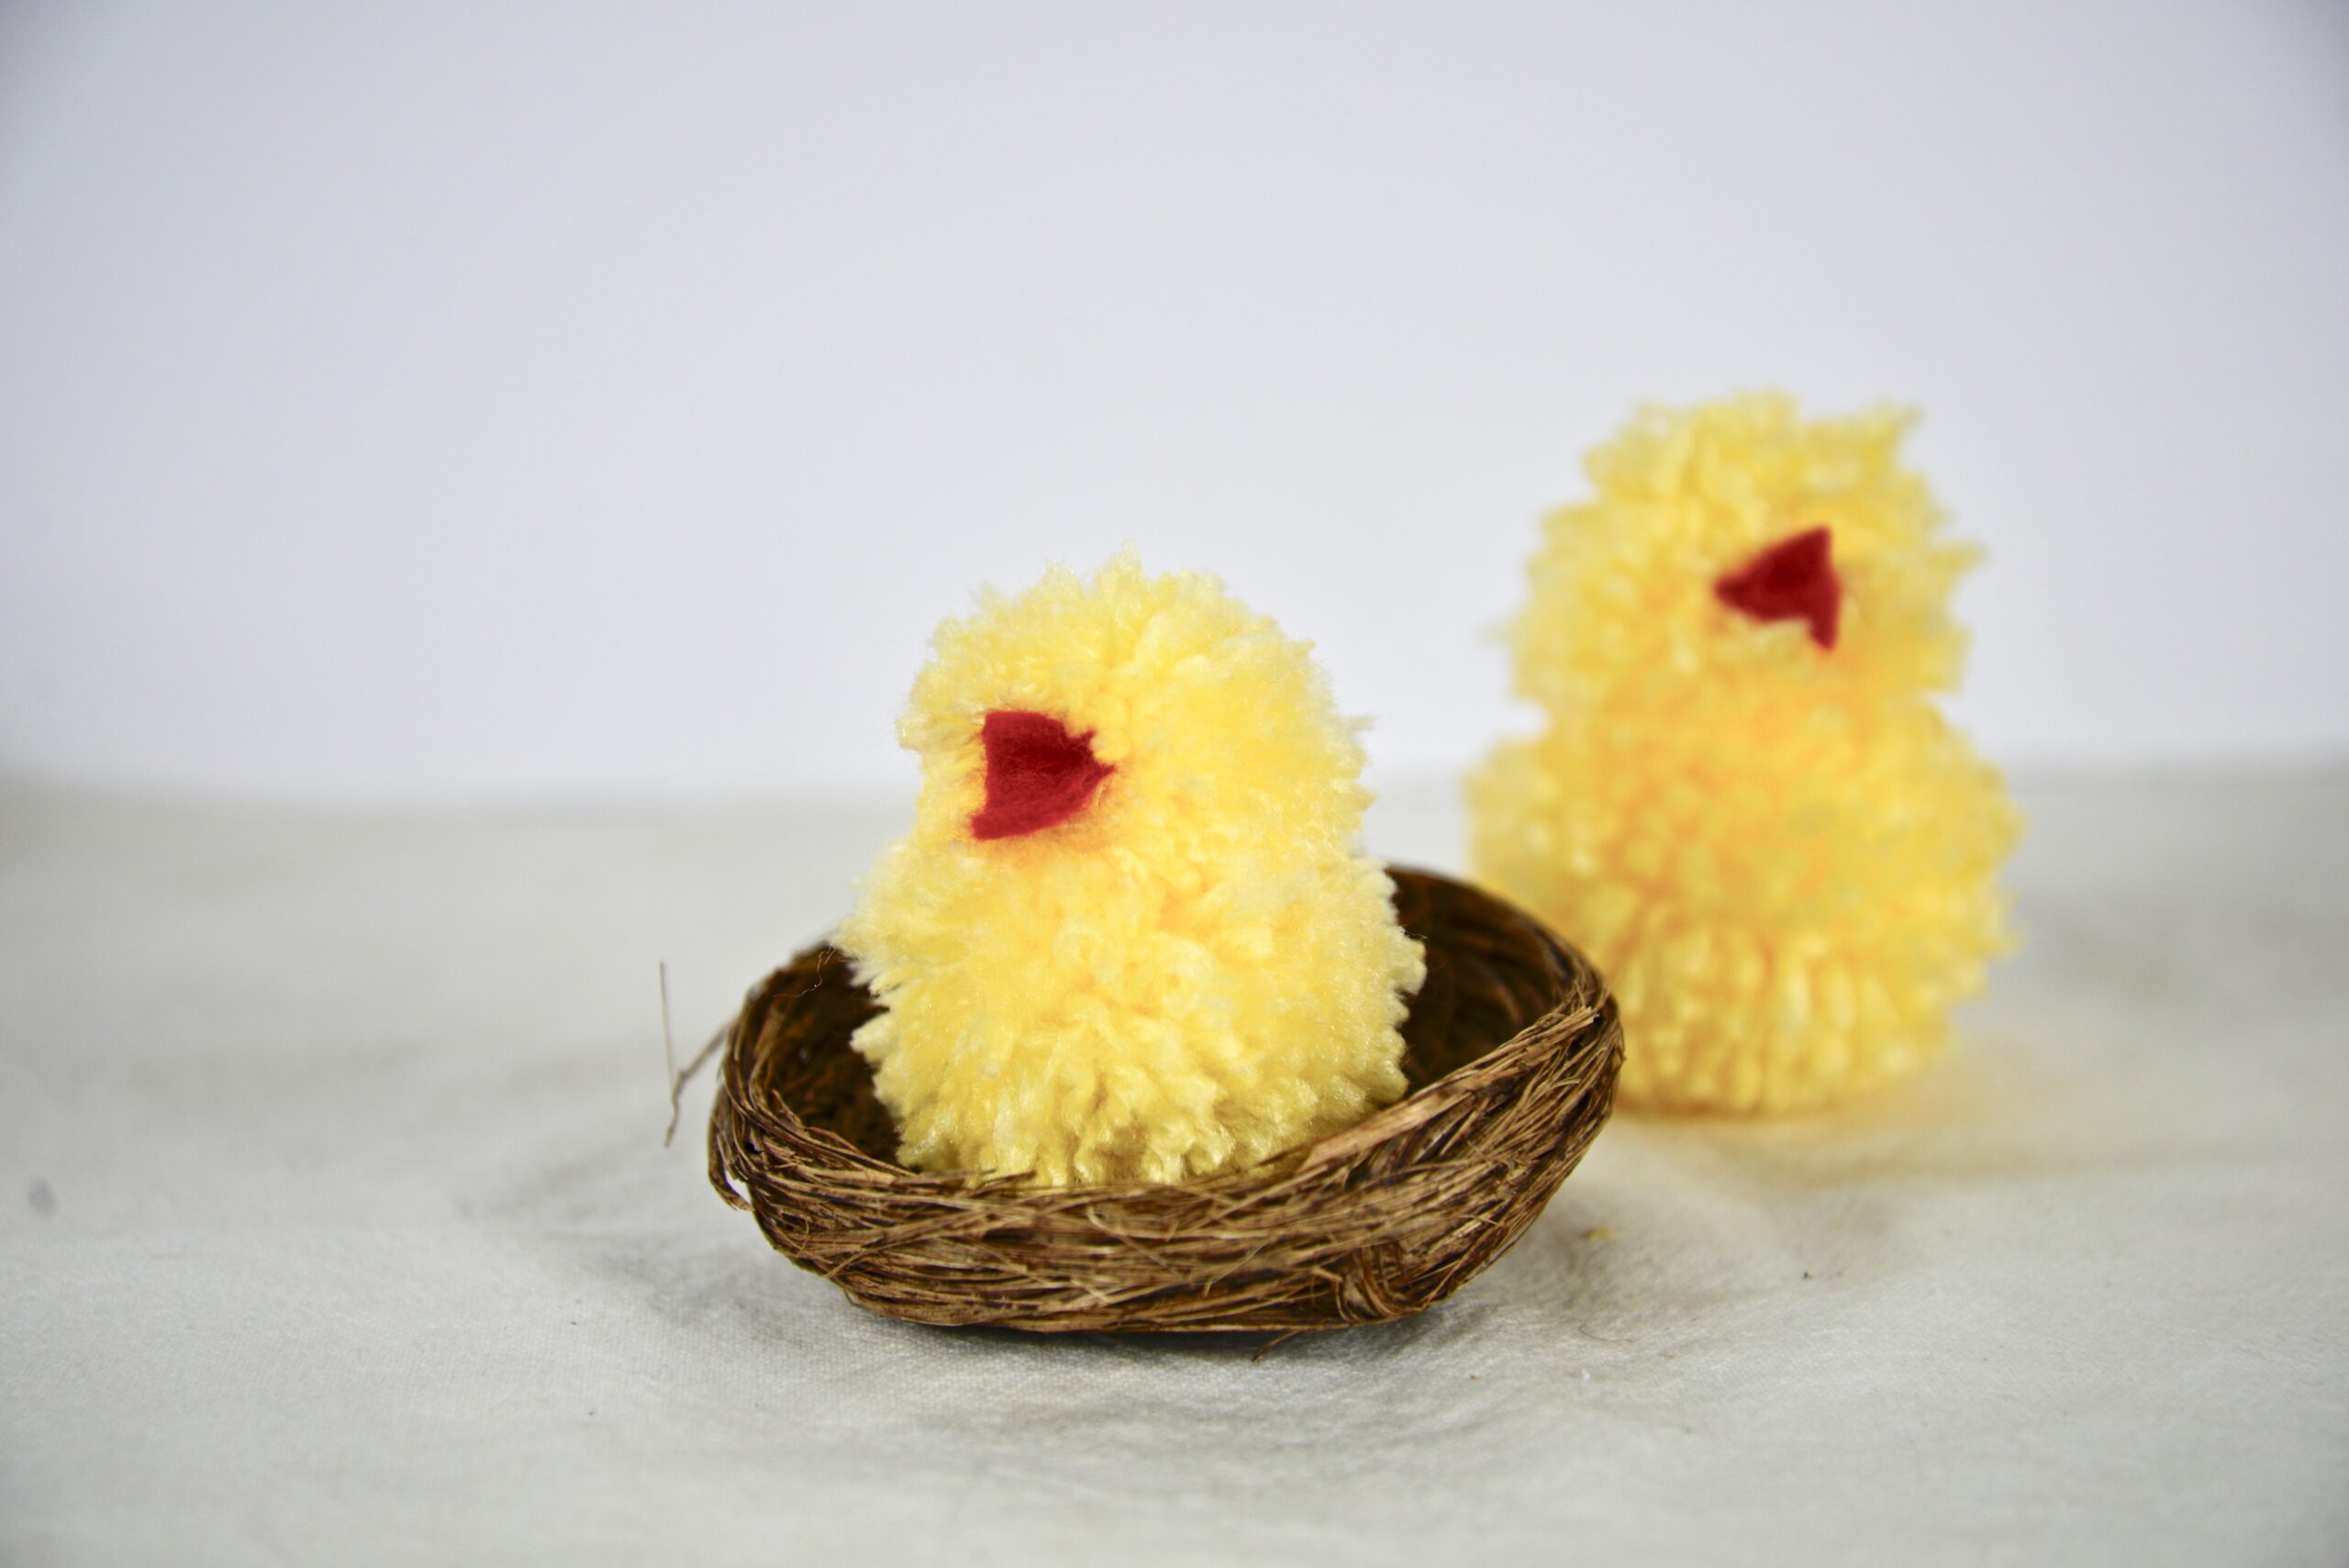
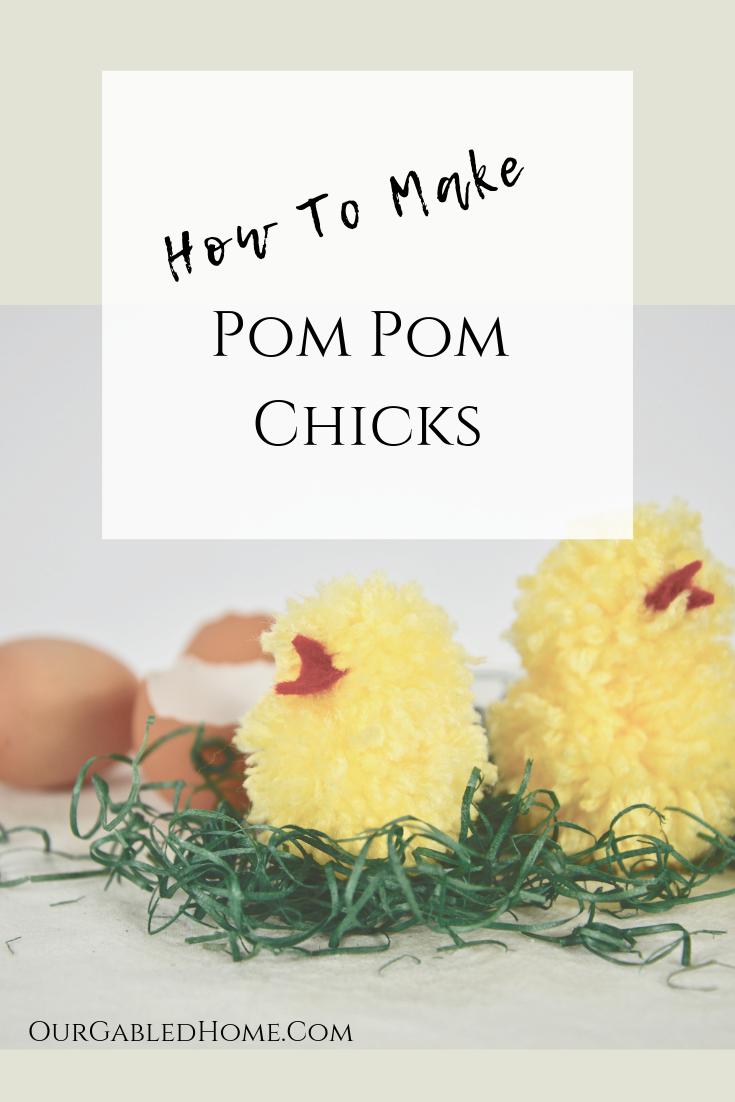
How to Make Pom Pom Chicks
These cute pom pom chicks are a simple craft you can do in less than 30 mins. They are easy enough that you can do them with your kids, too!
When we were kids we had these tiny little Easter pom pom chicks that I just couldn’t get enough of.
They were store-bought. But cute! However, I like handmade. And I like quick little projects.
These adorable little pom pom chicks are just the perfect quick project! Let me show you how to make them!
This post contains affiliate links, which means I make a small commission at no extra cost to you. You can read my full disclosure.
What you need to make pom pom chicks
All you need is
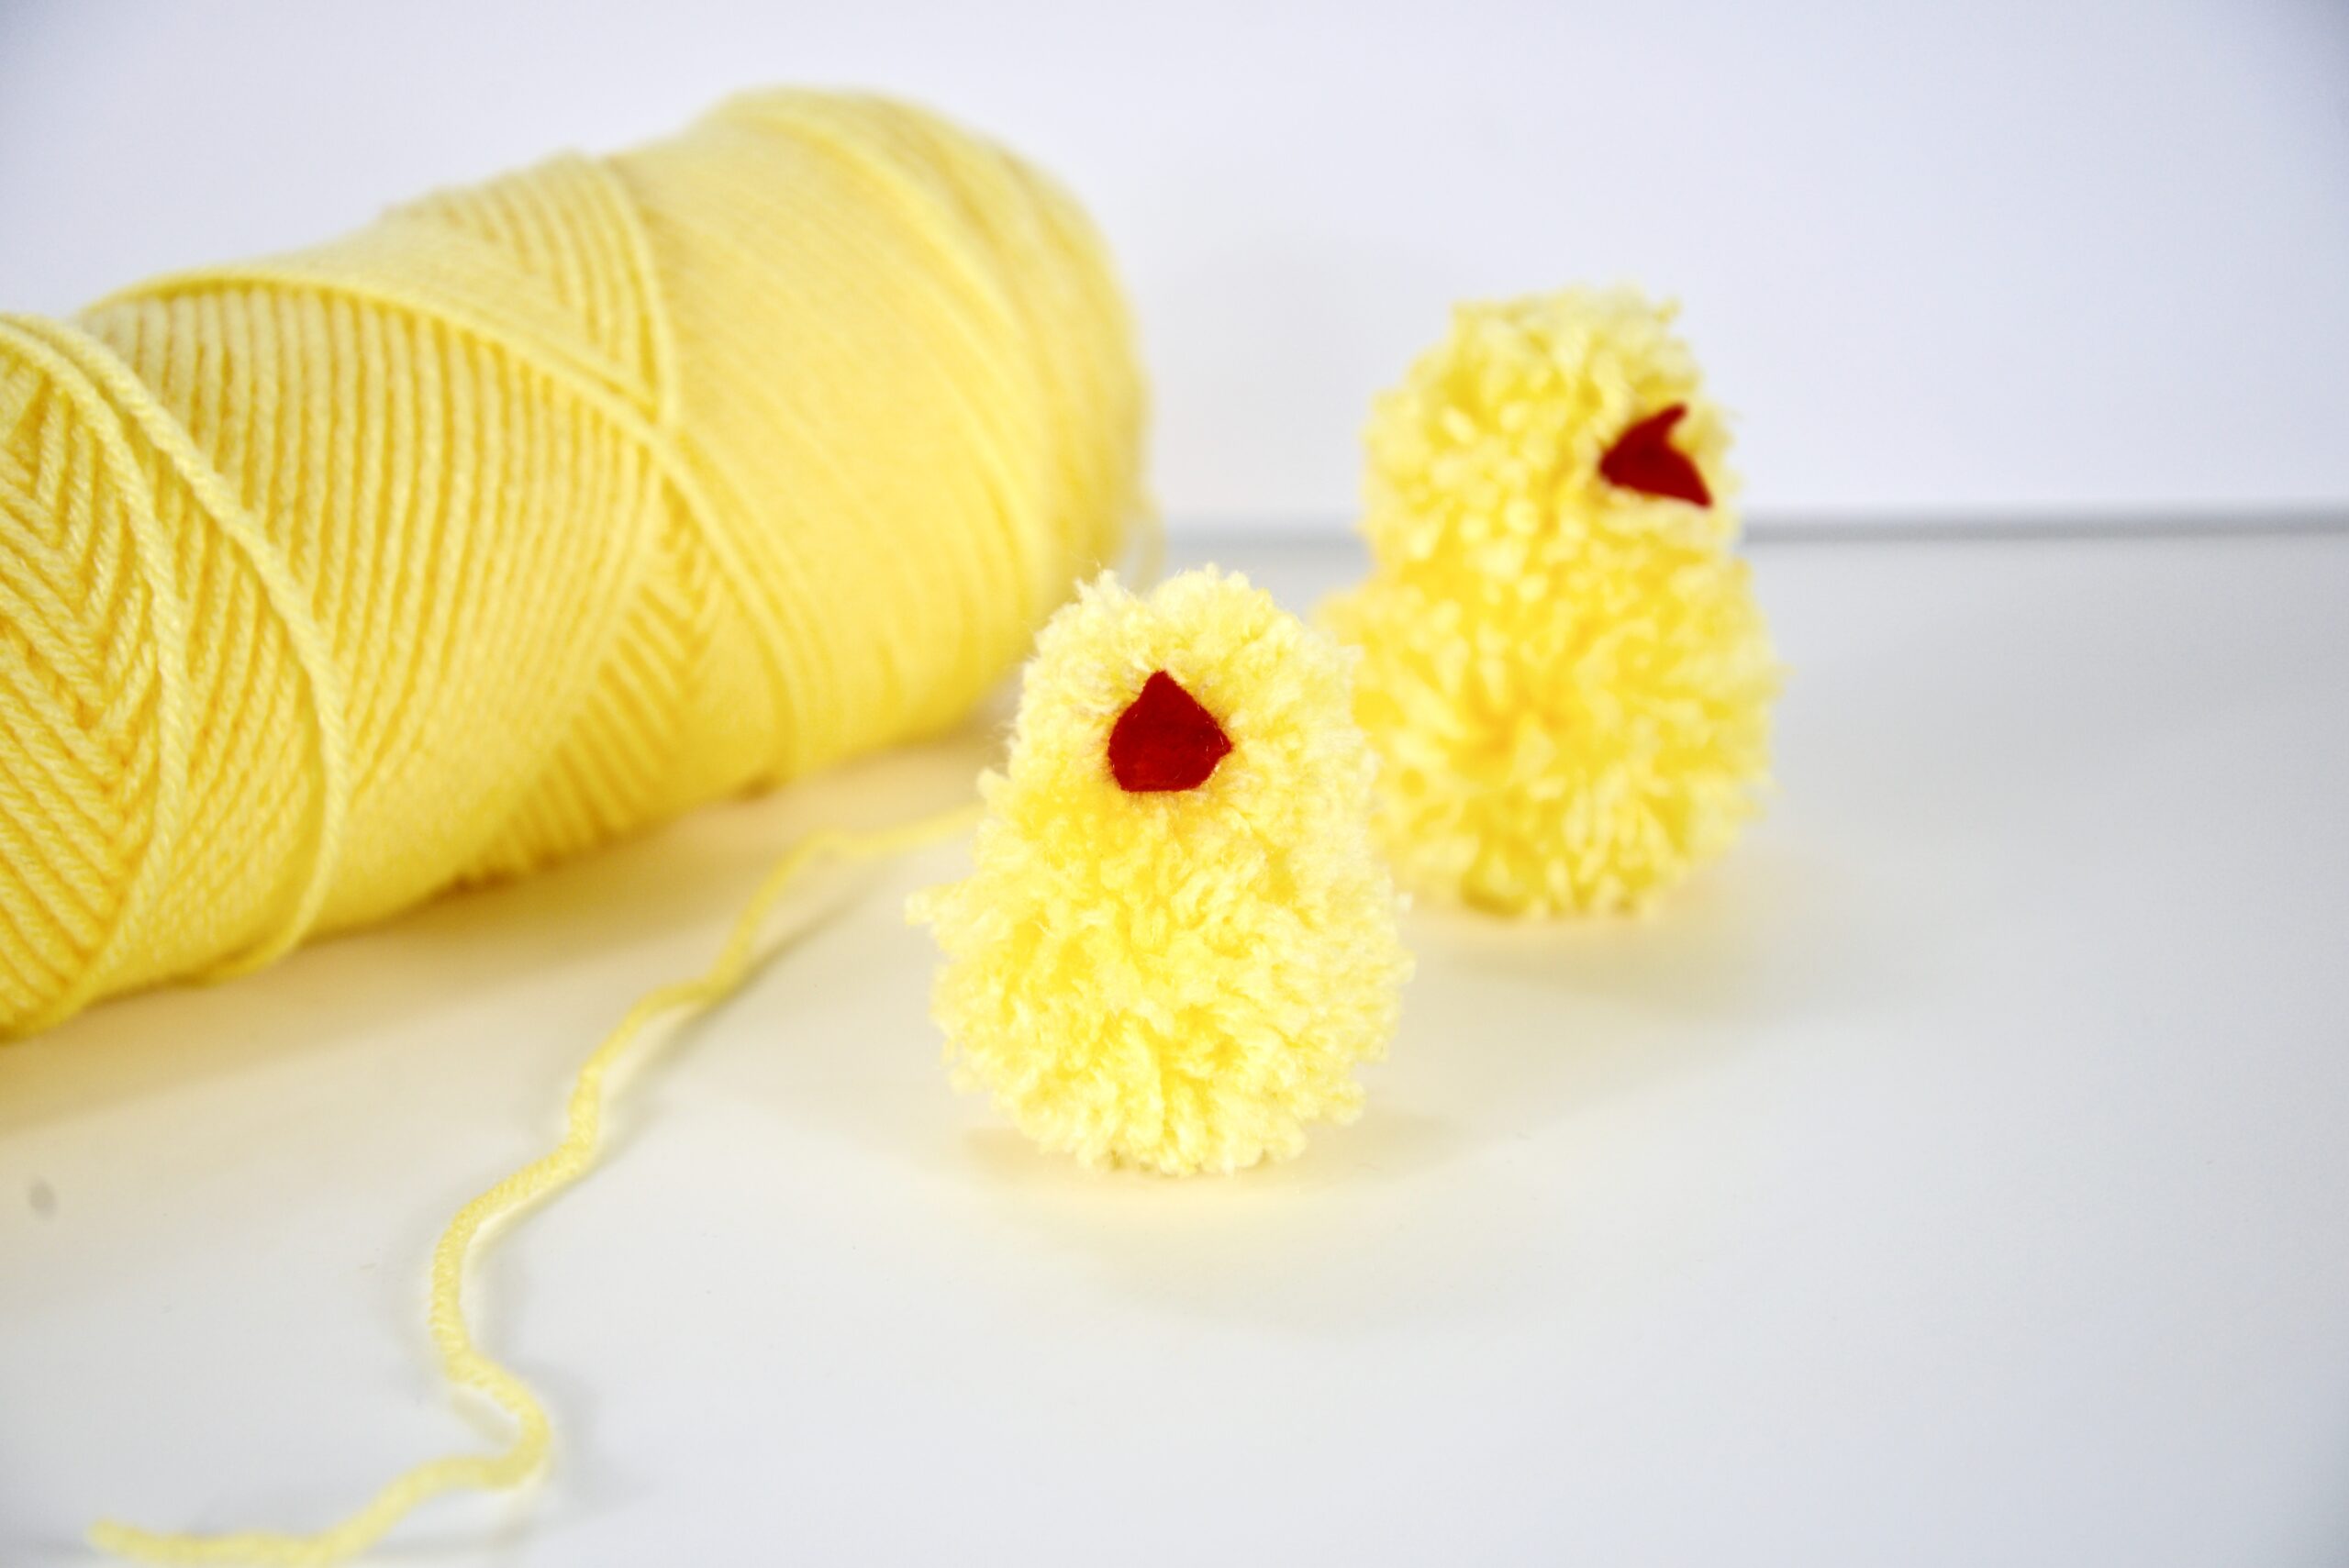
- yellow yarn
- a piece of red felt
- good scissors
- darning needle or blunt needle
- glue
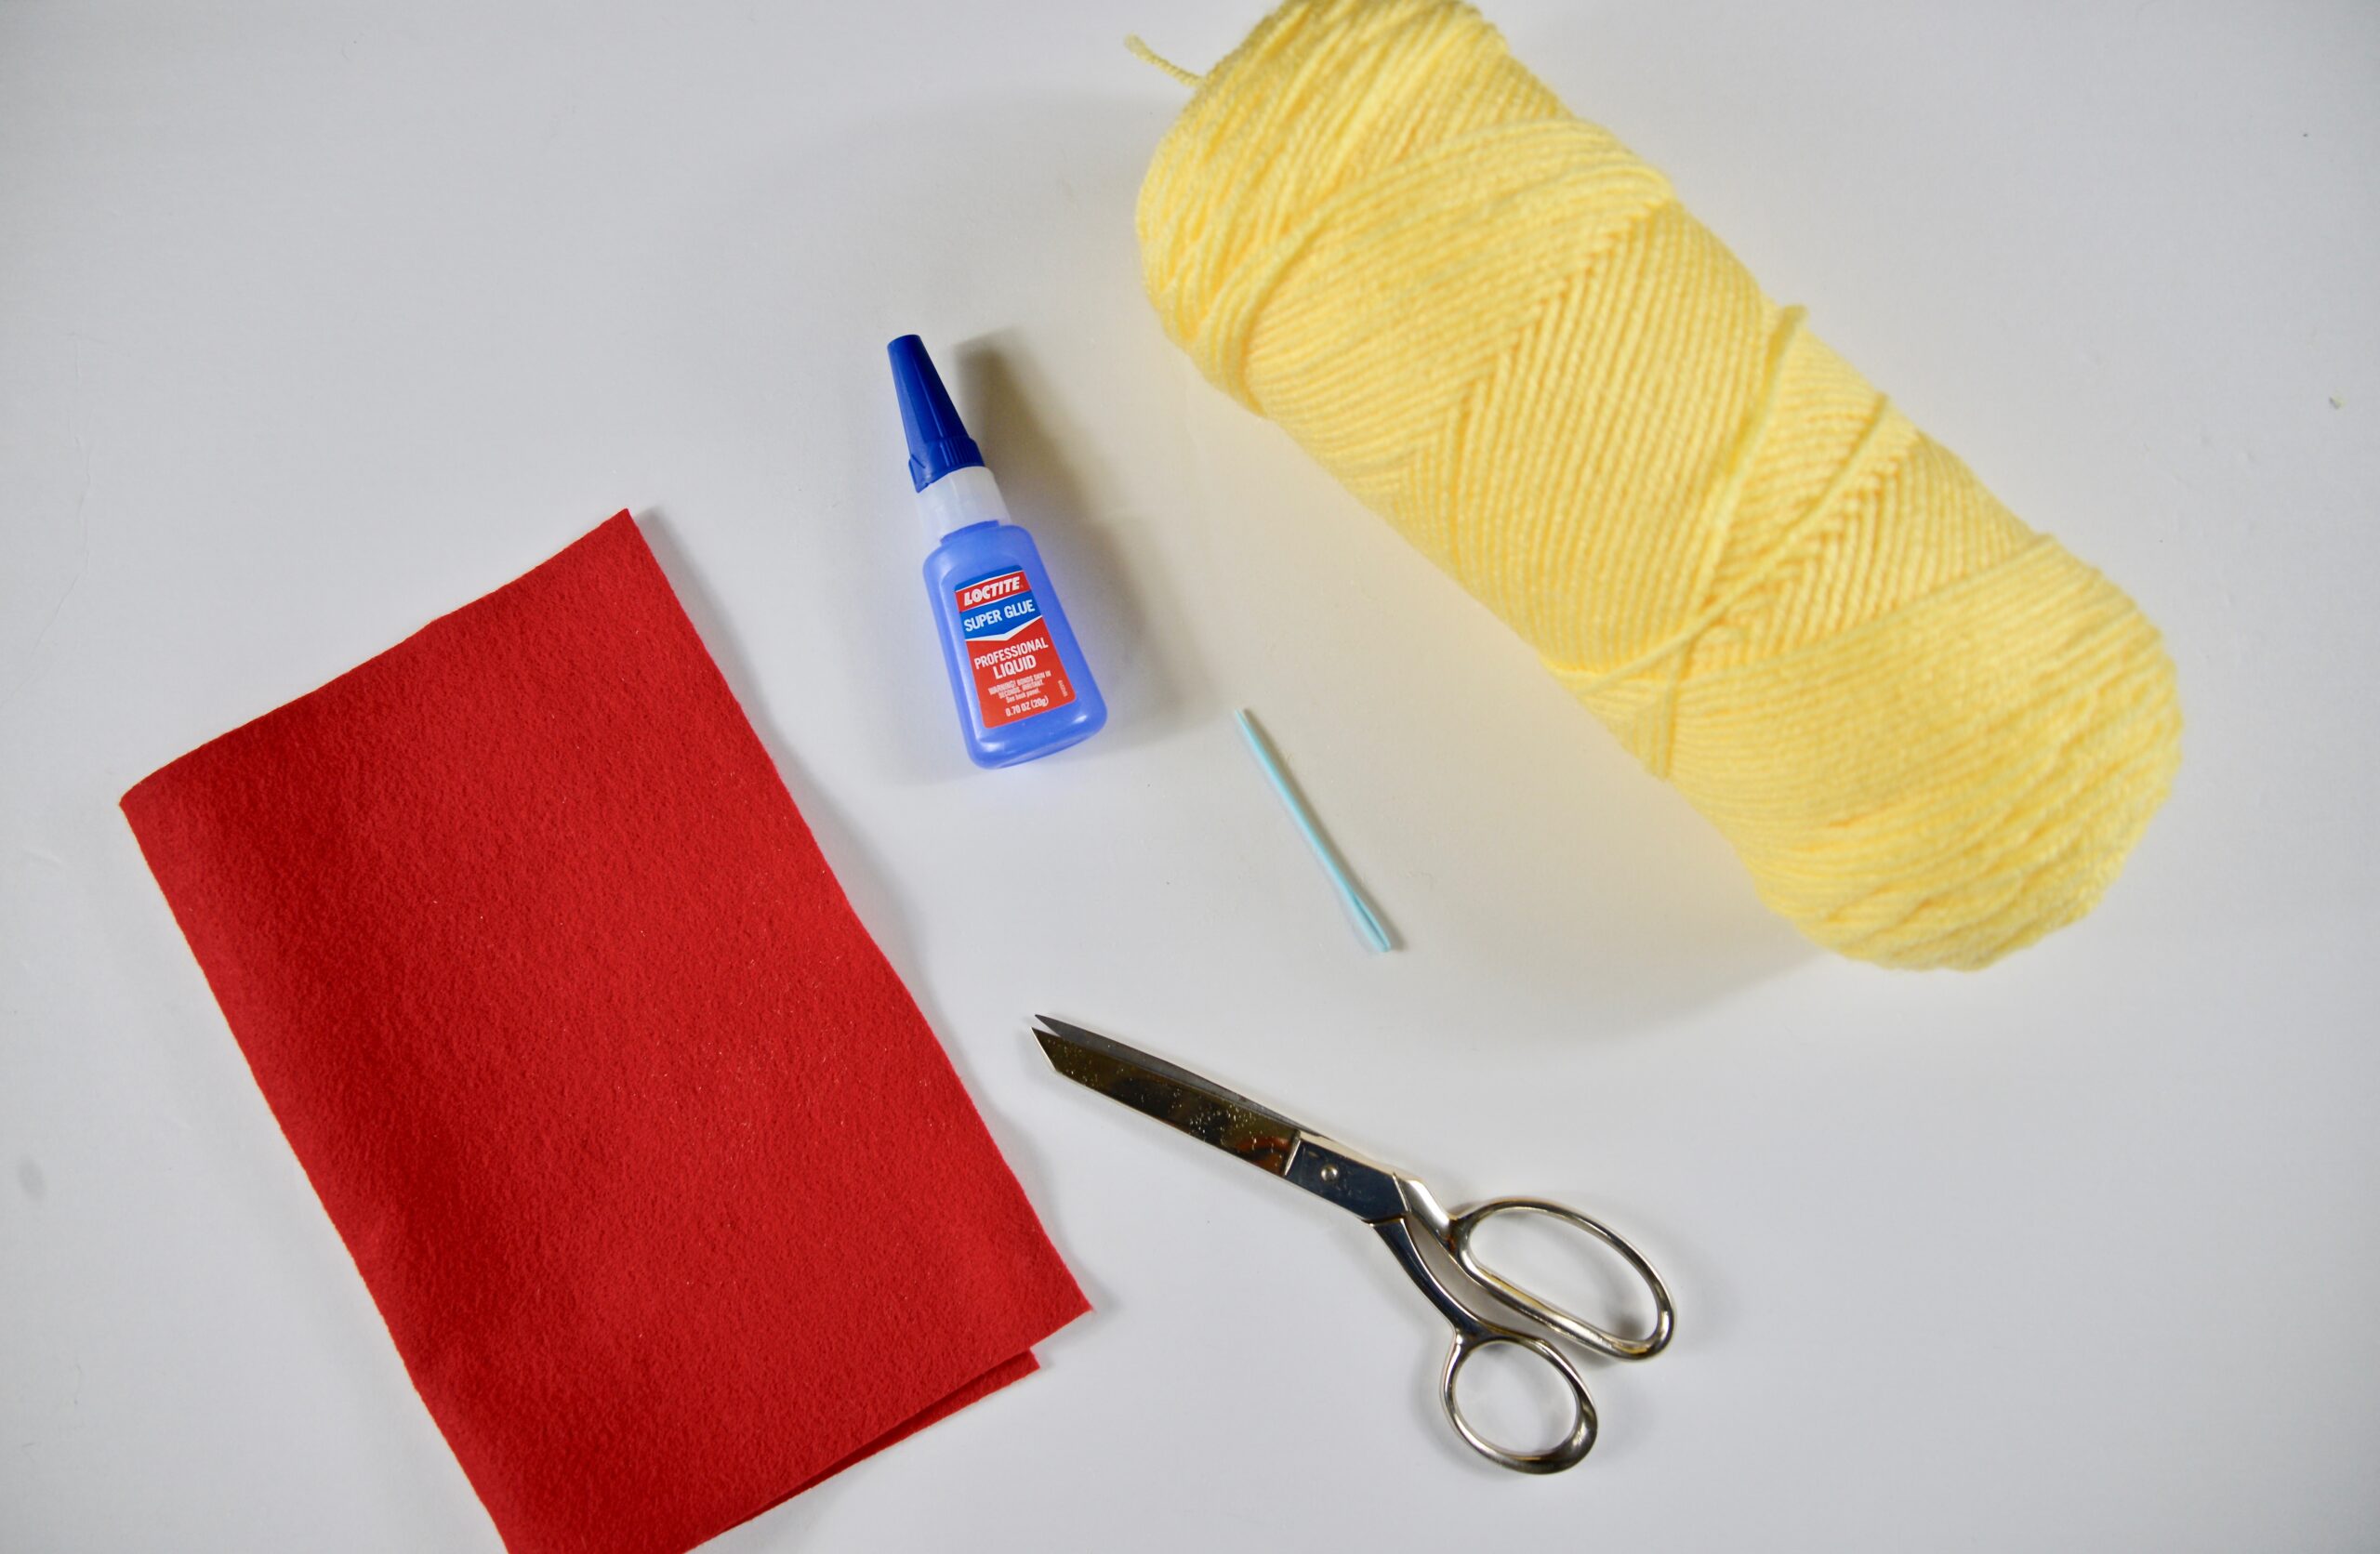
I got my yarn from our local JoAnn’s craft store but you can also get it from amazon. This is the yarn I got.
I also bought the felt at my local crafts store. You can find it here on amazon as well.
You probably have good scissors and glue already and maybe a darning needle. Otherwise, something like this works.
How to make the pom pom chicks
Gather all your supplies.
Making the body of the pom pom chick:
1: Thread some yarn (around 6 inches) into your darning needle and set that aside.
2: Begin wrapping your yarn around 2 fingers. Keep doing this until you have a good chunk of yarn on those fingers. If in doubt, always do more. It will make your pom pom chicks look better and fluffier.
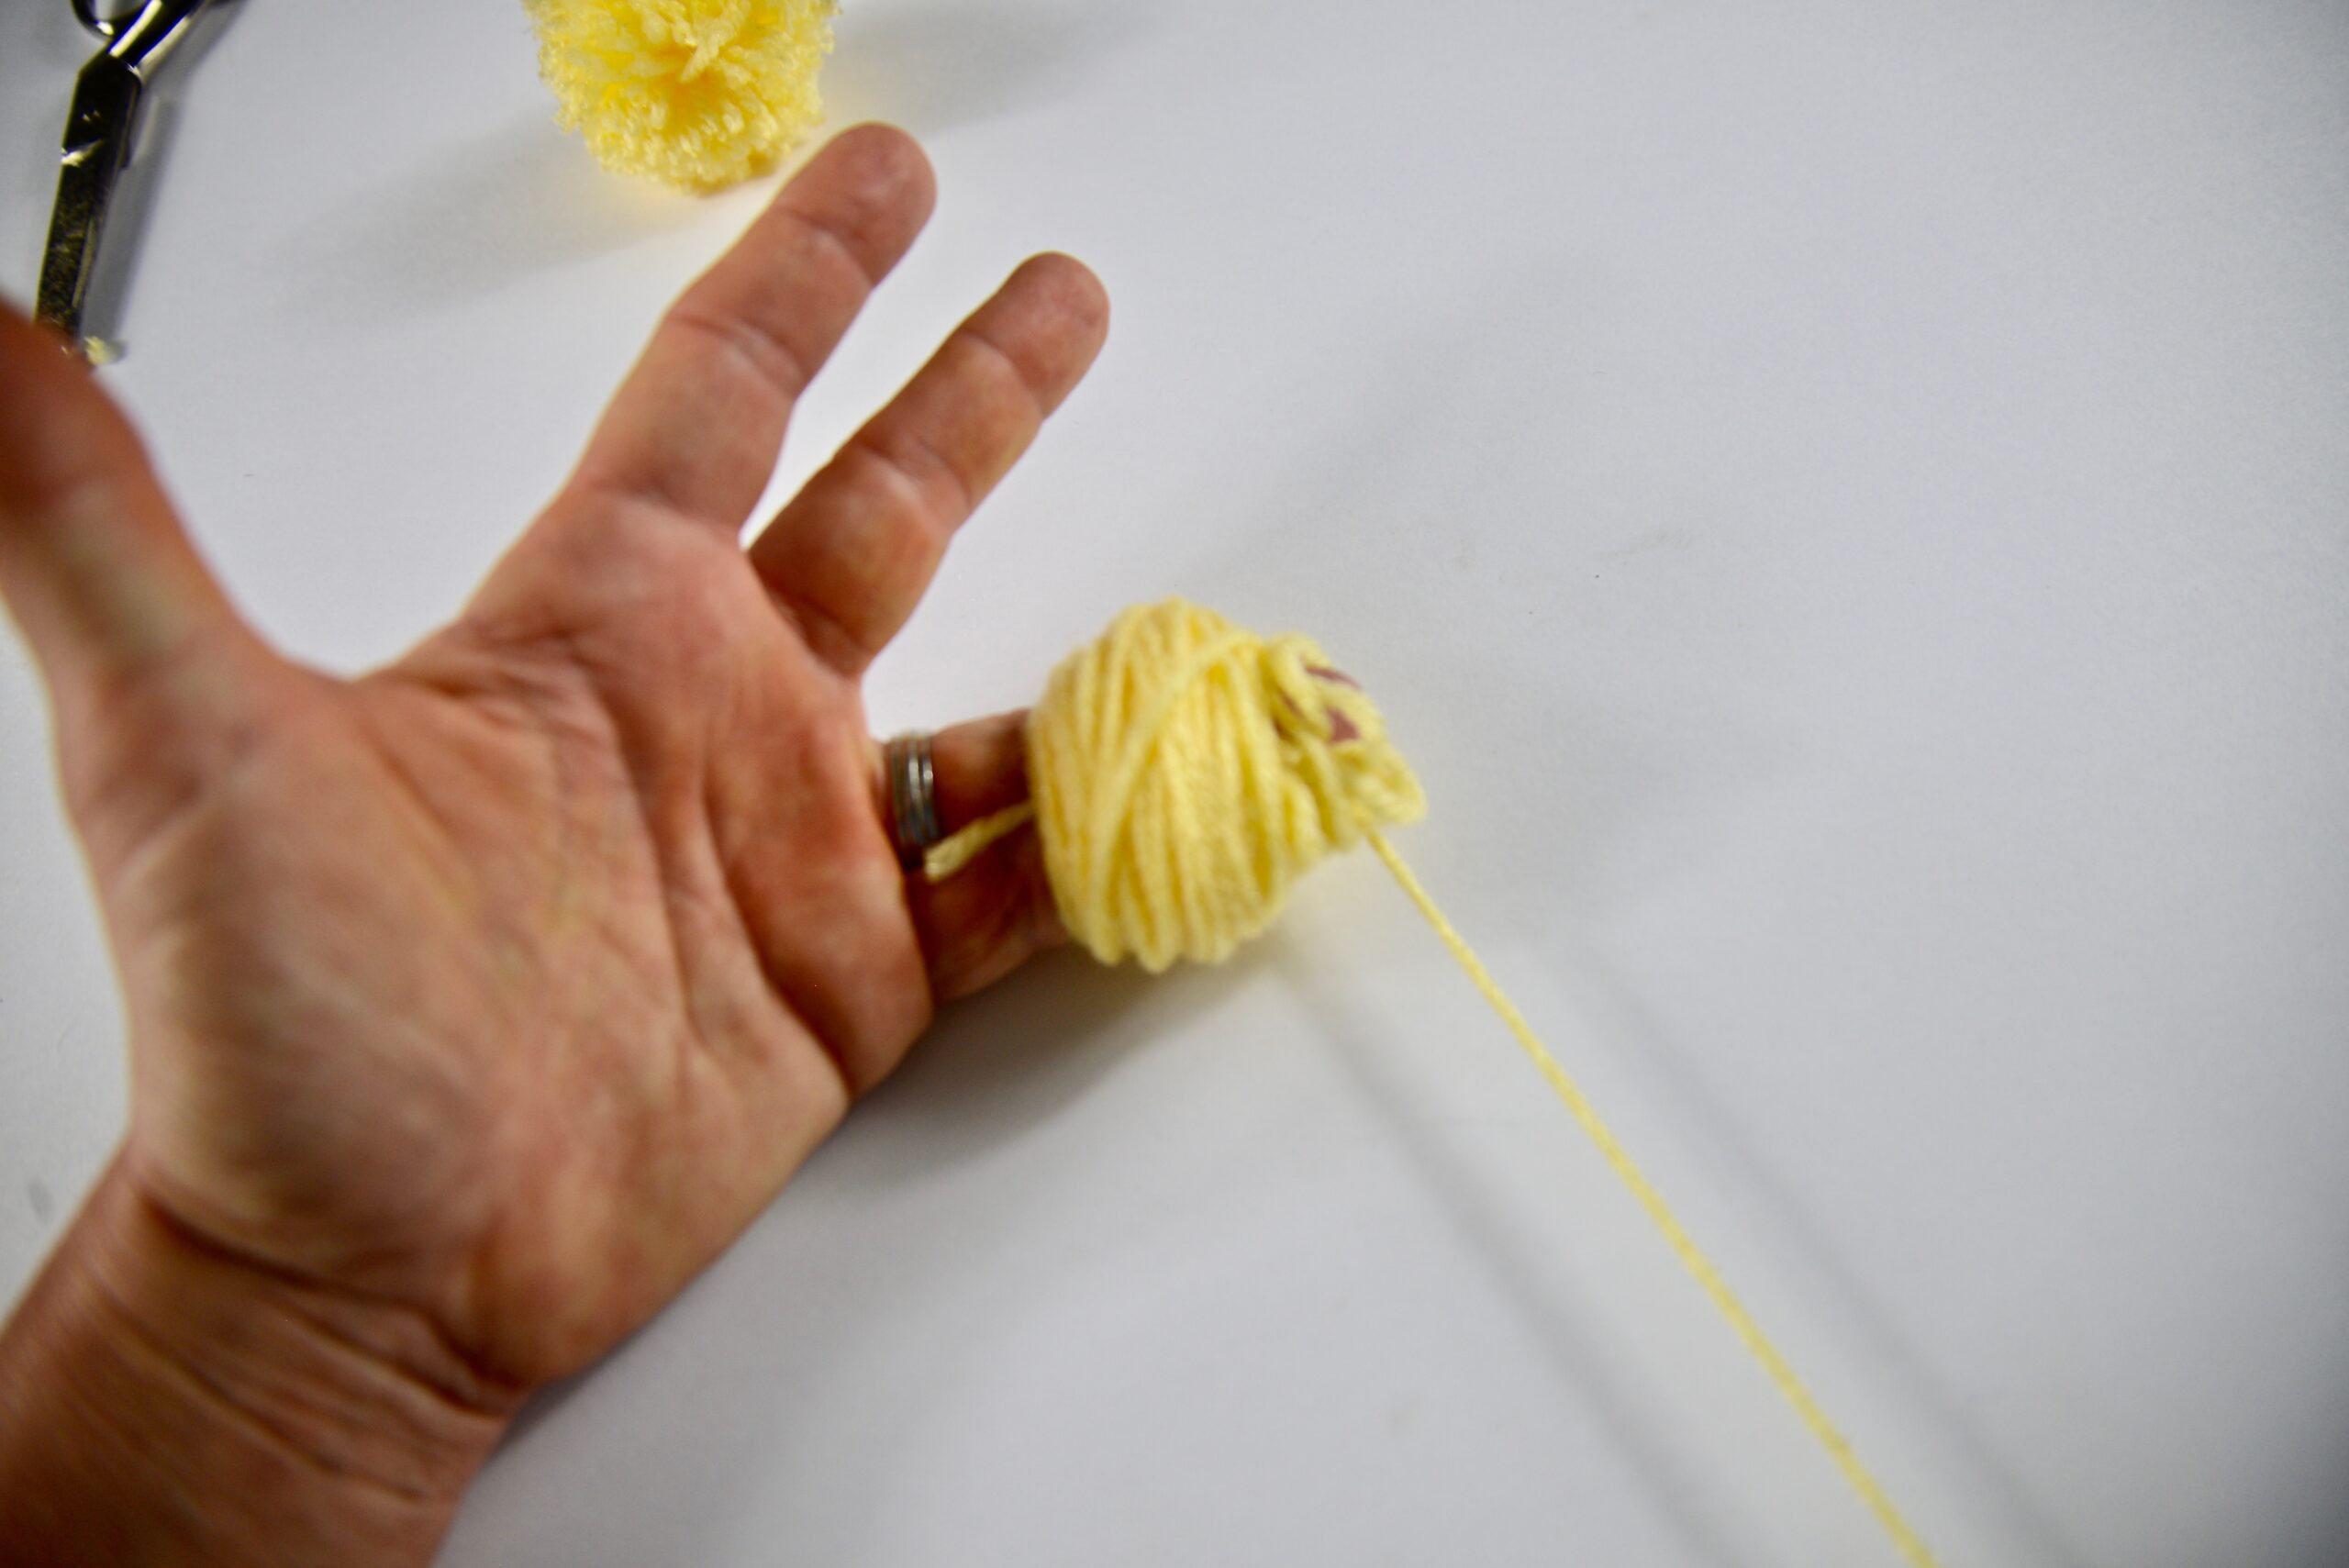
3: Push the darning needle with the yarn through this wound-up yarn over your fingers.
4: Carefully pull the yarn off your fingers.
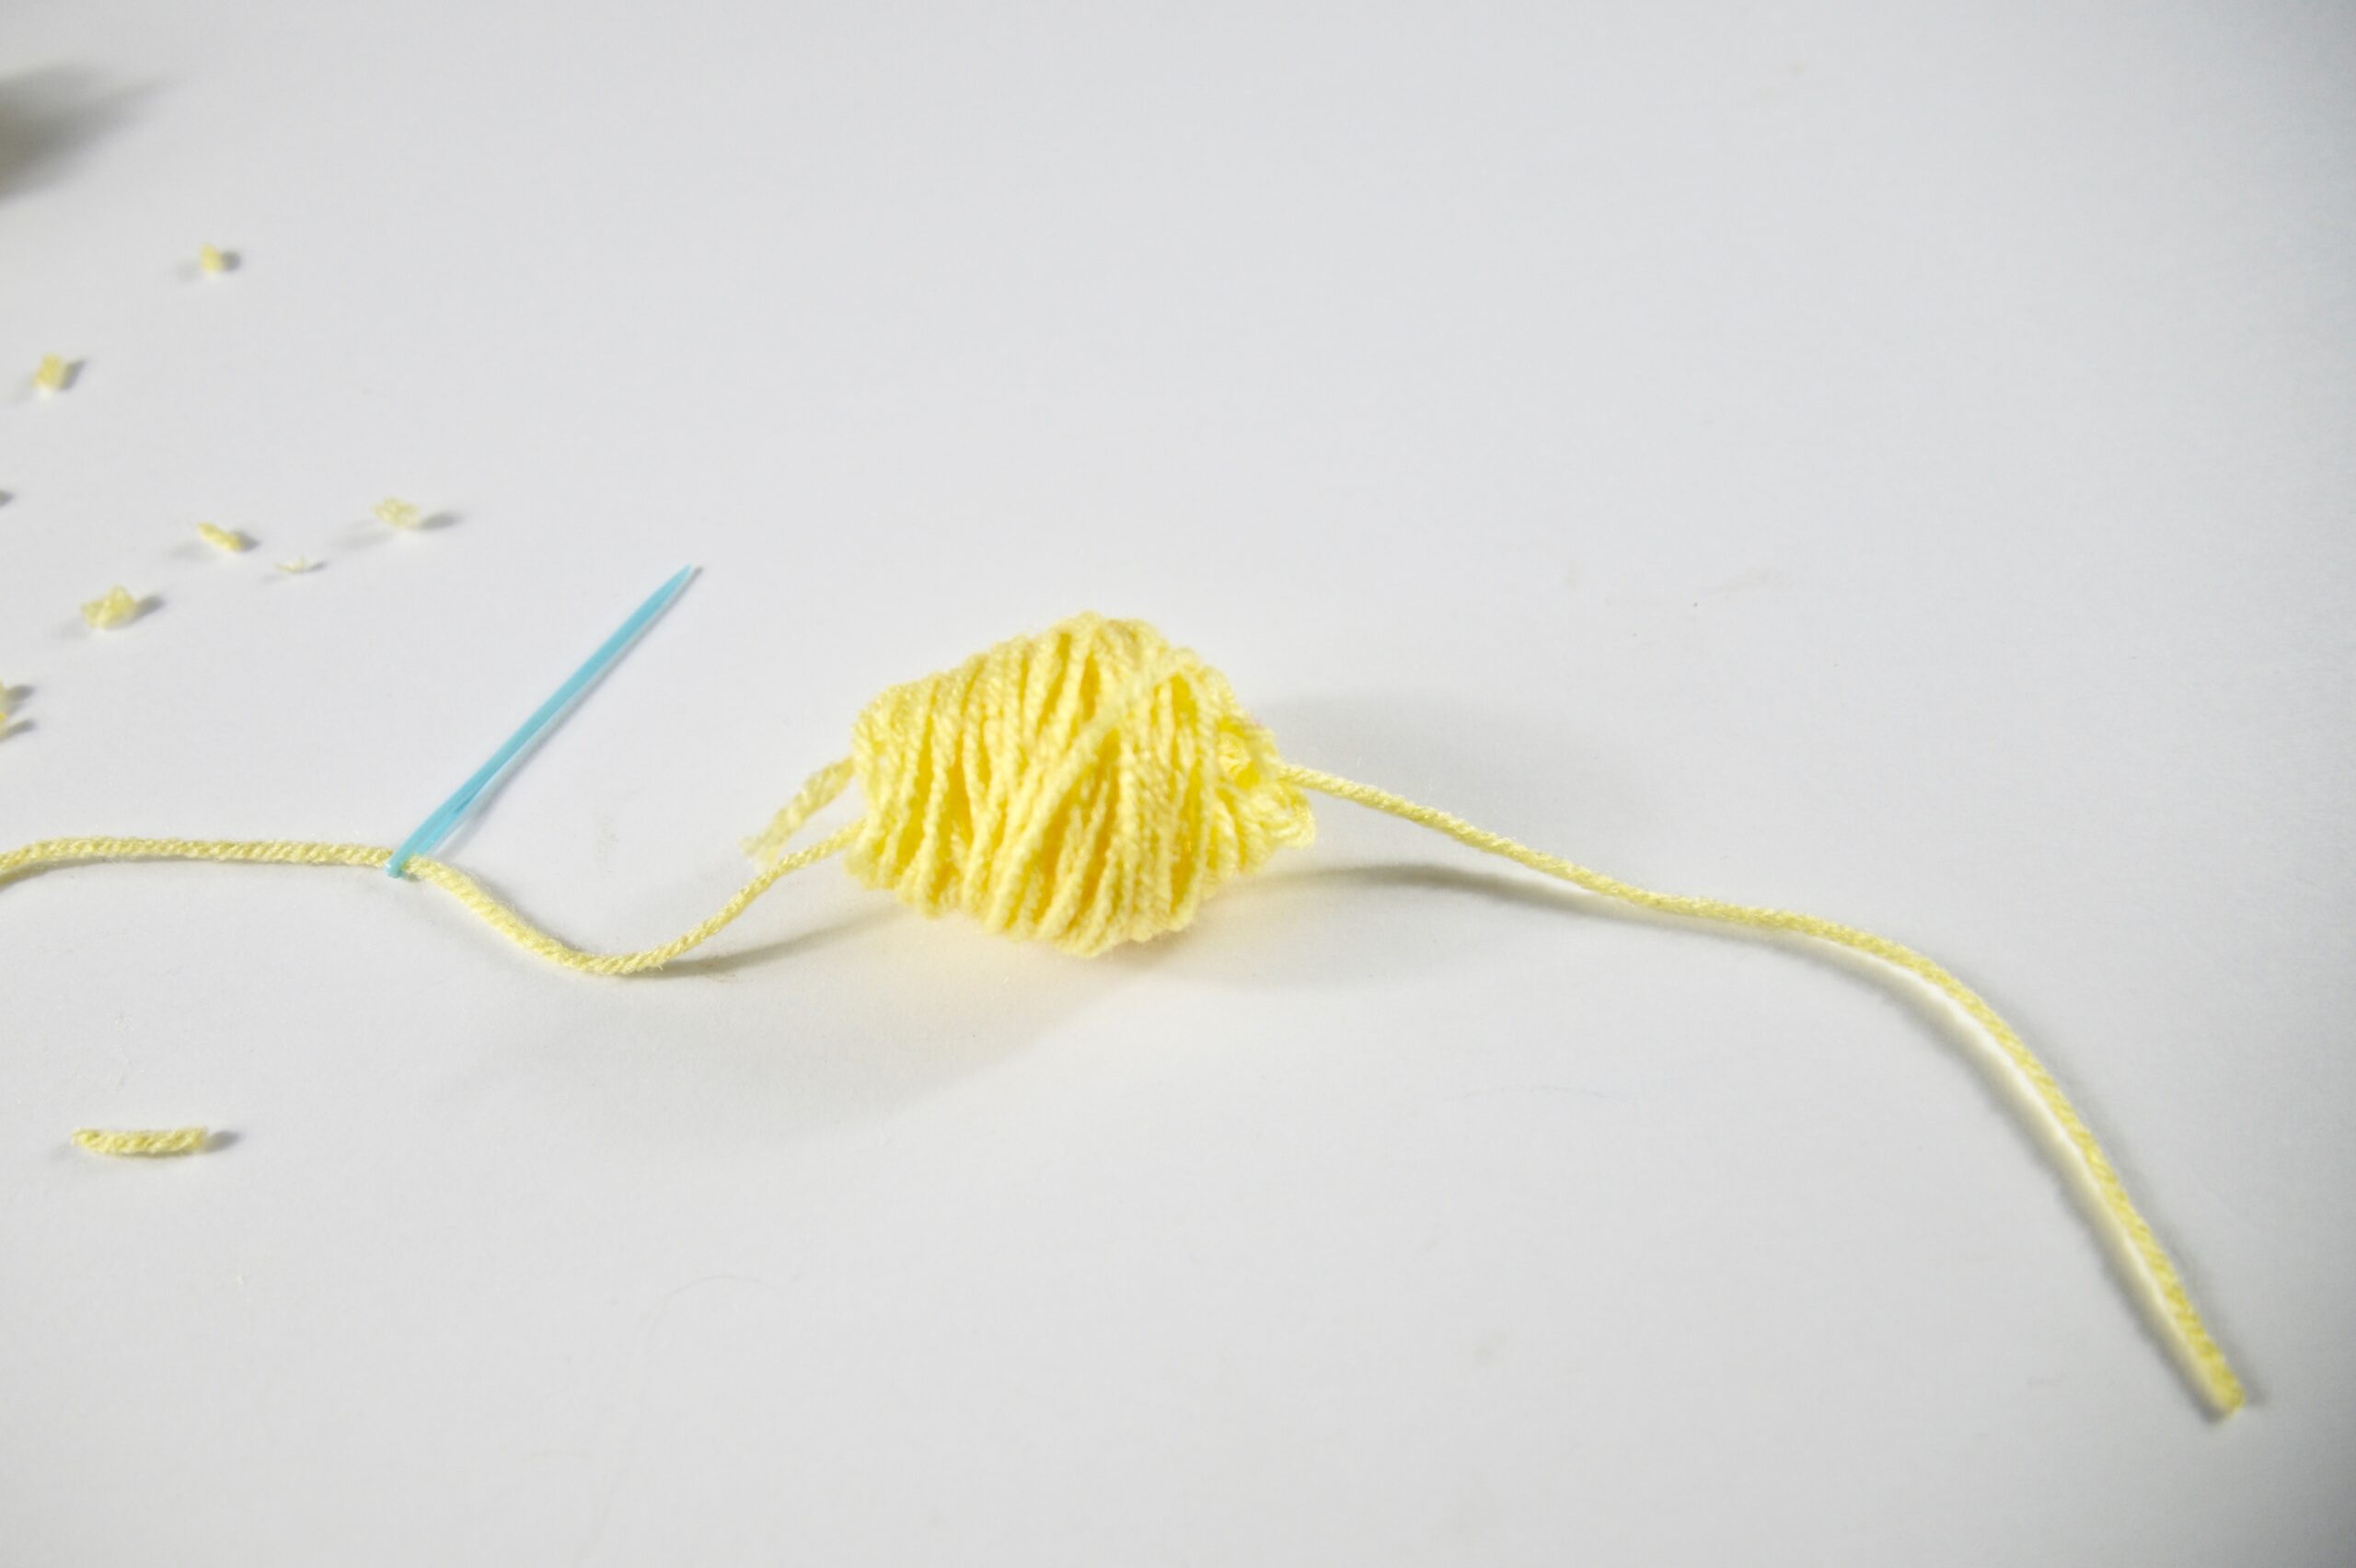
5: Using the yarn from the darning needle, tie a double knot around your wound-up yarn. Leave the ends of the yarn.
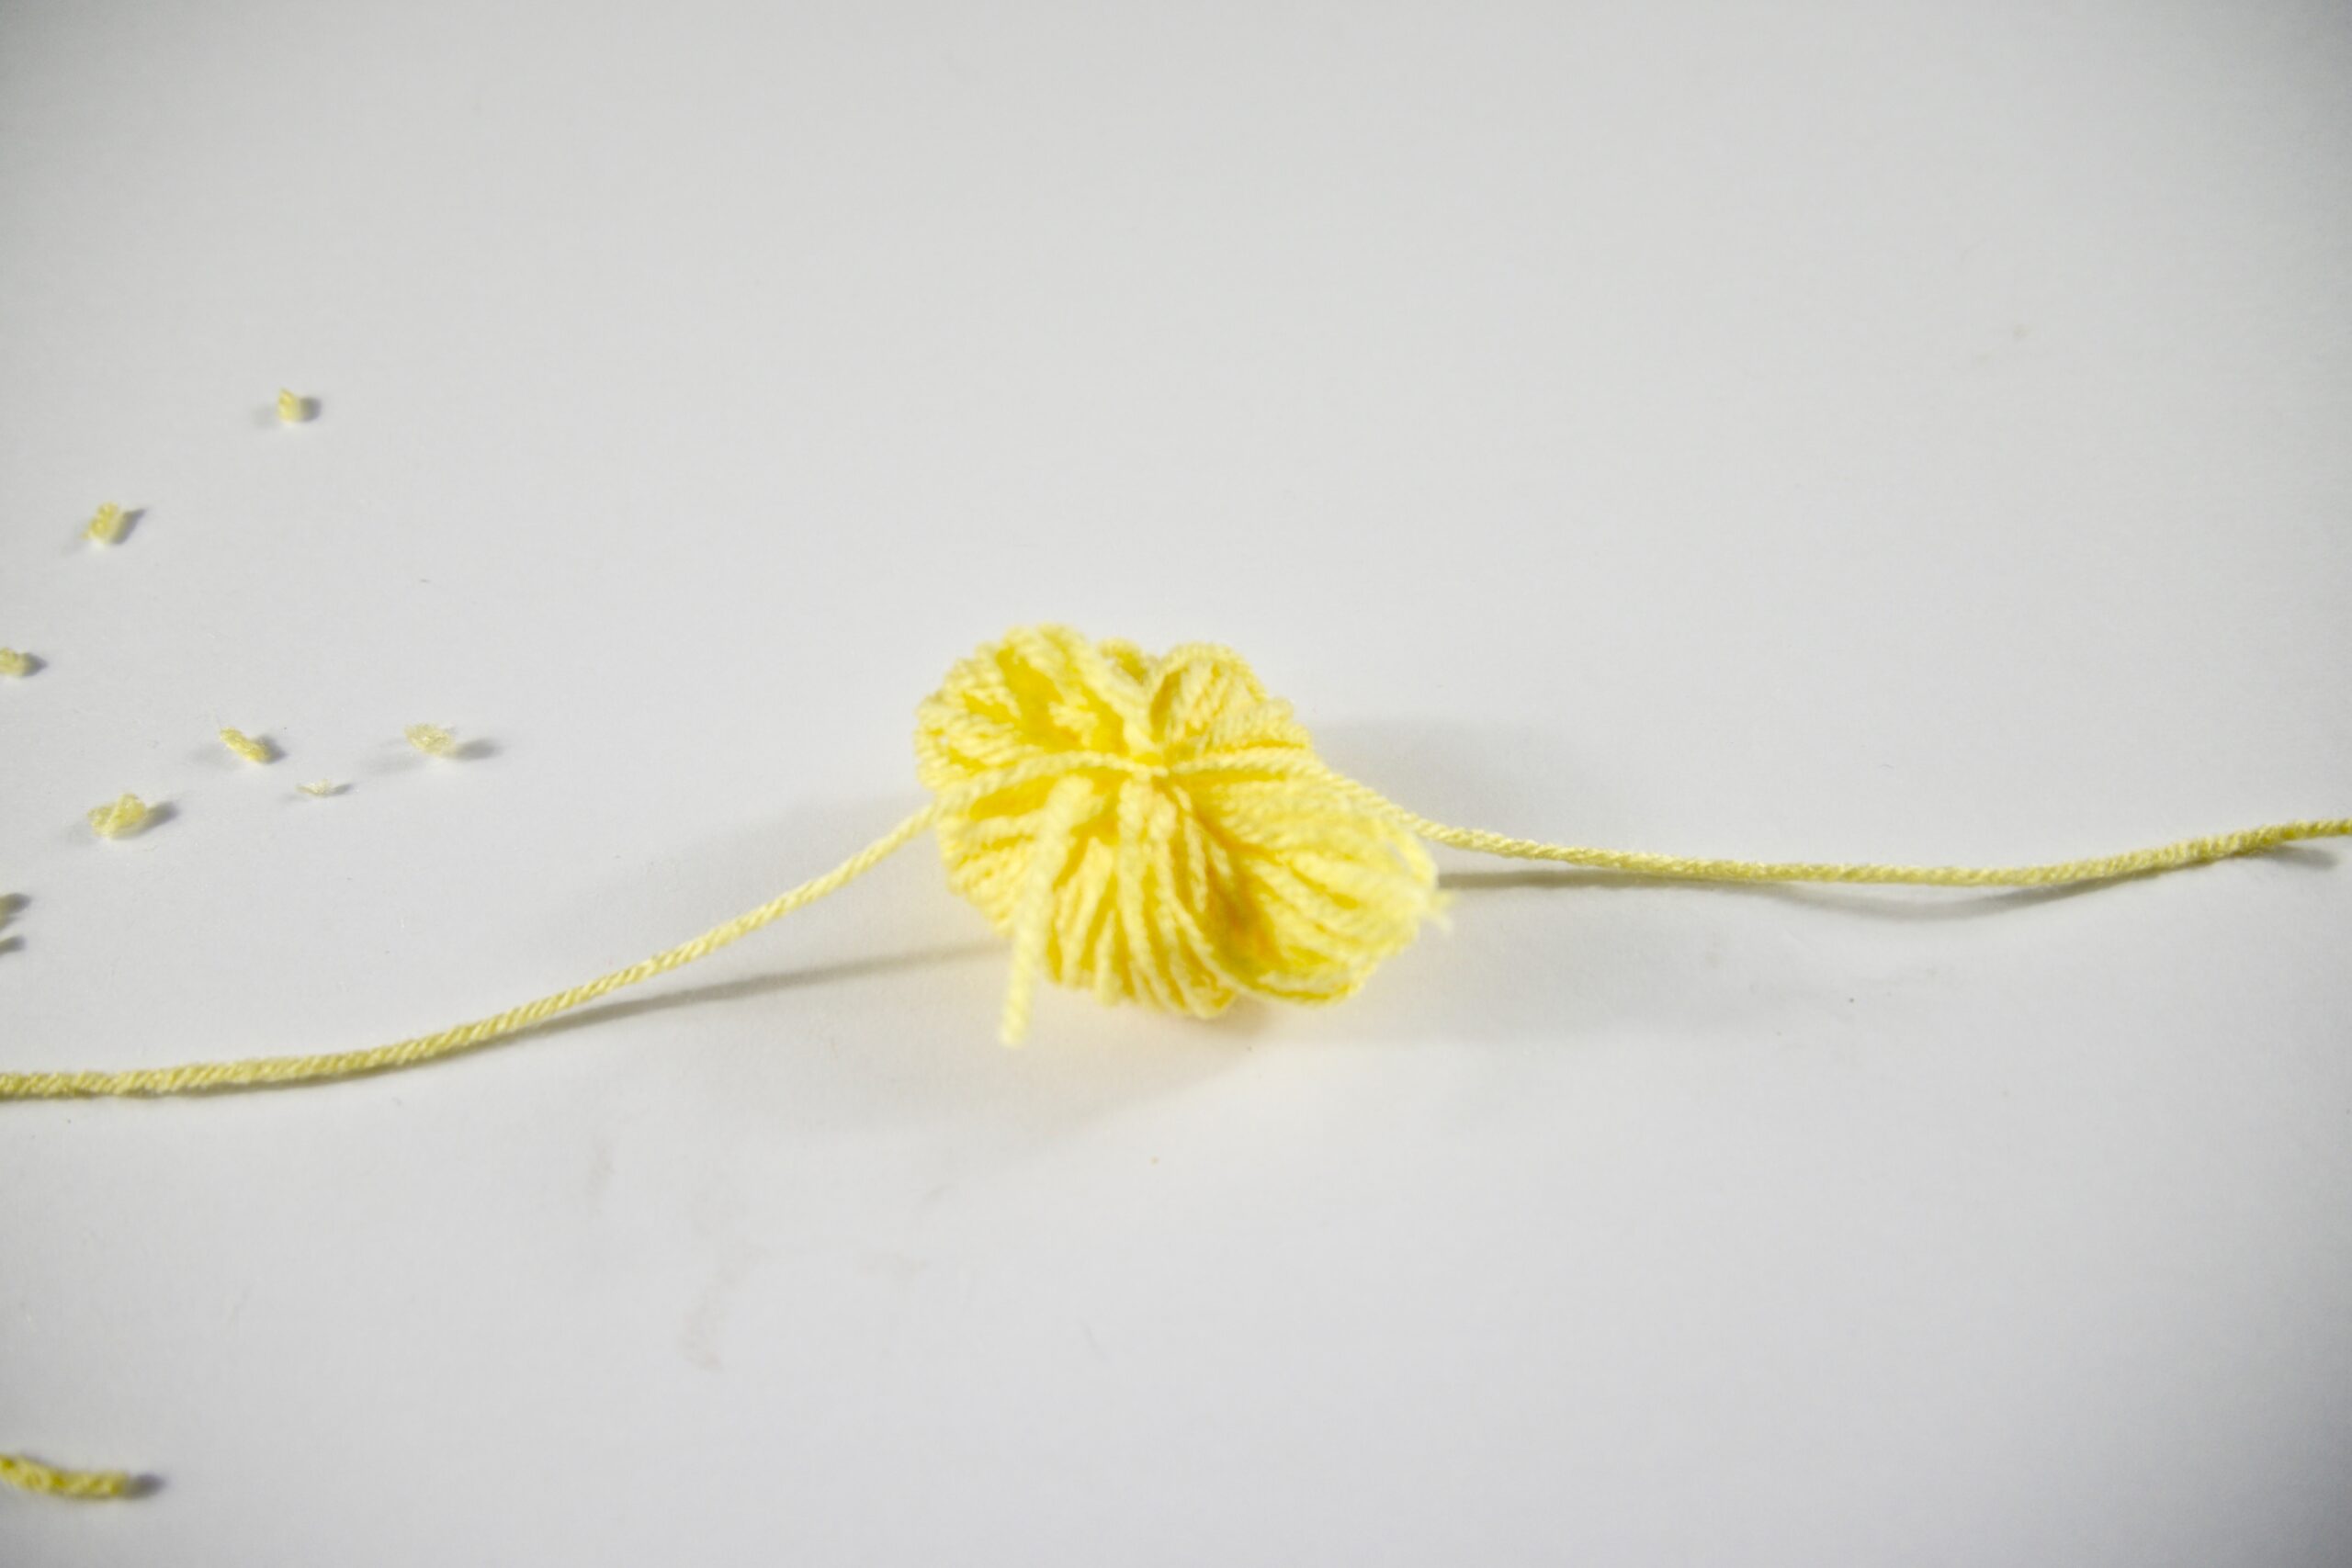
6. Cut all the loops open.
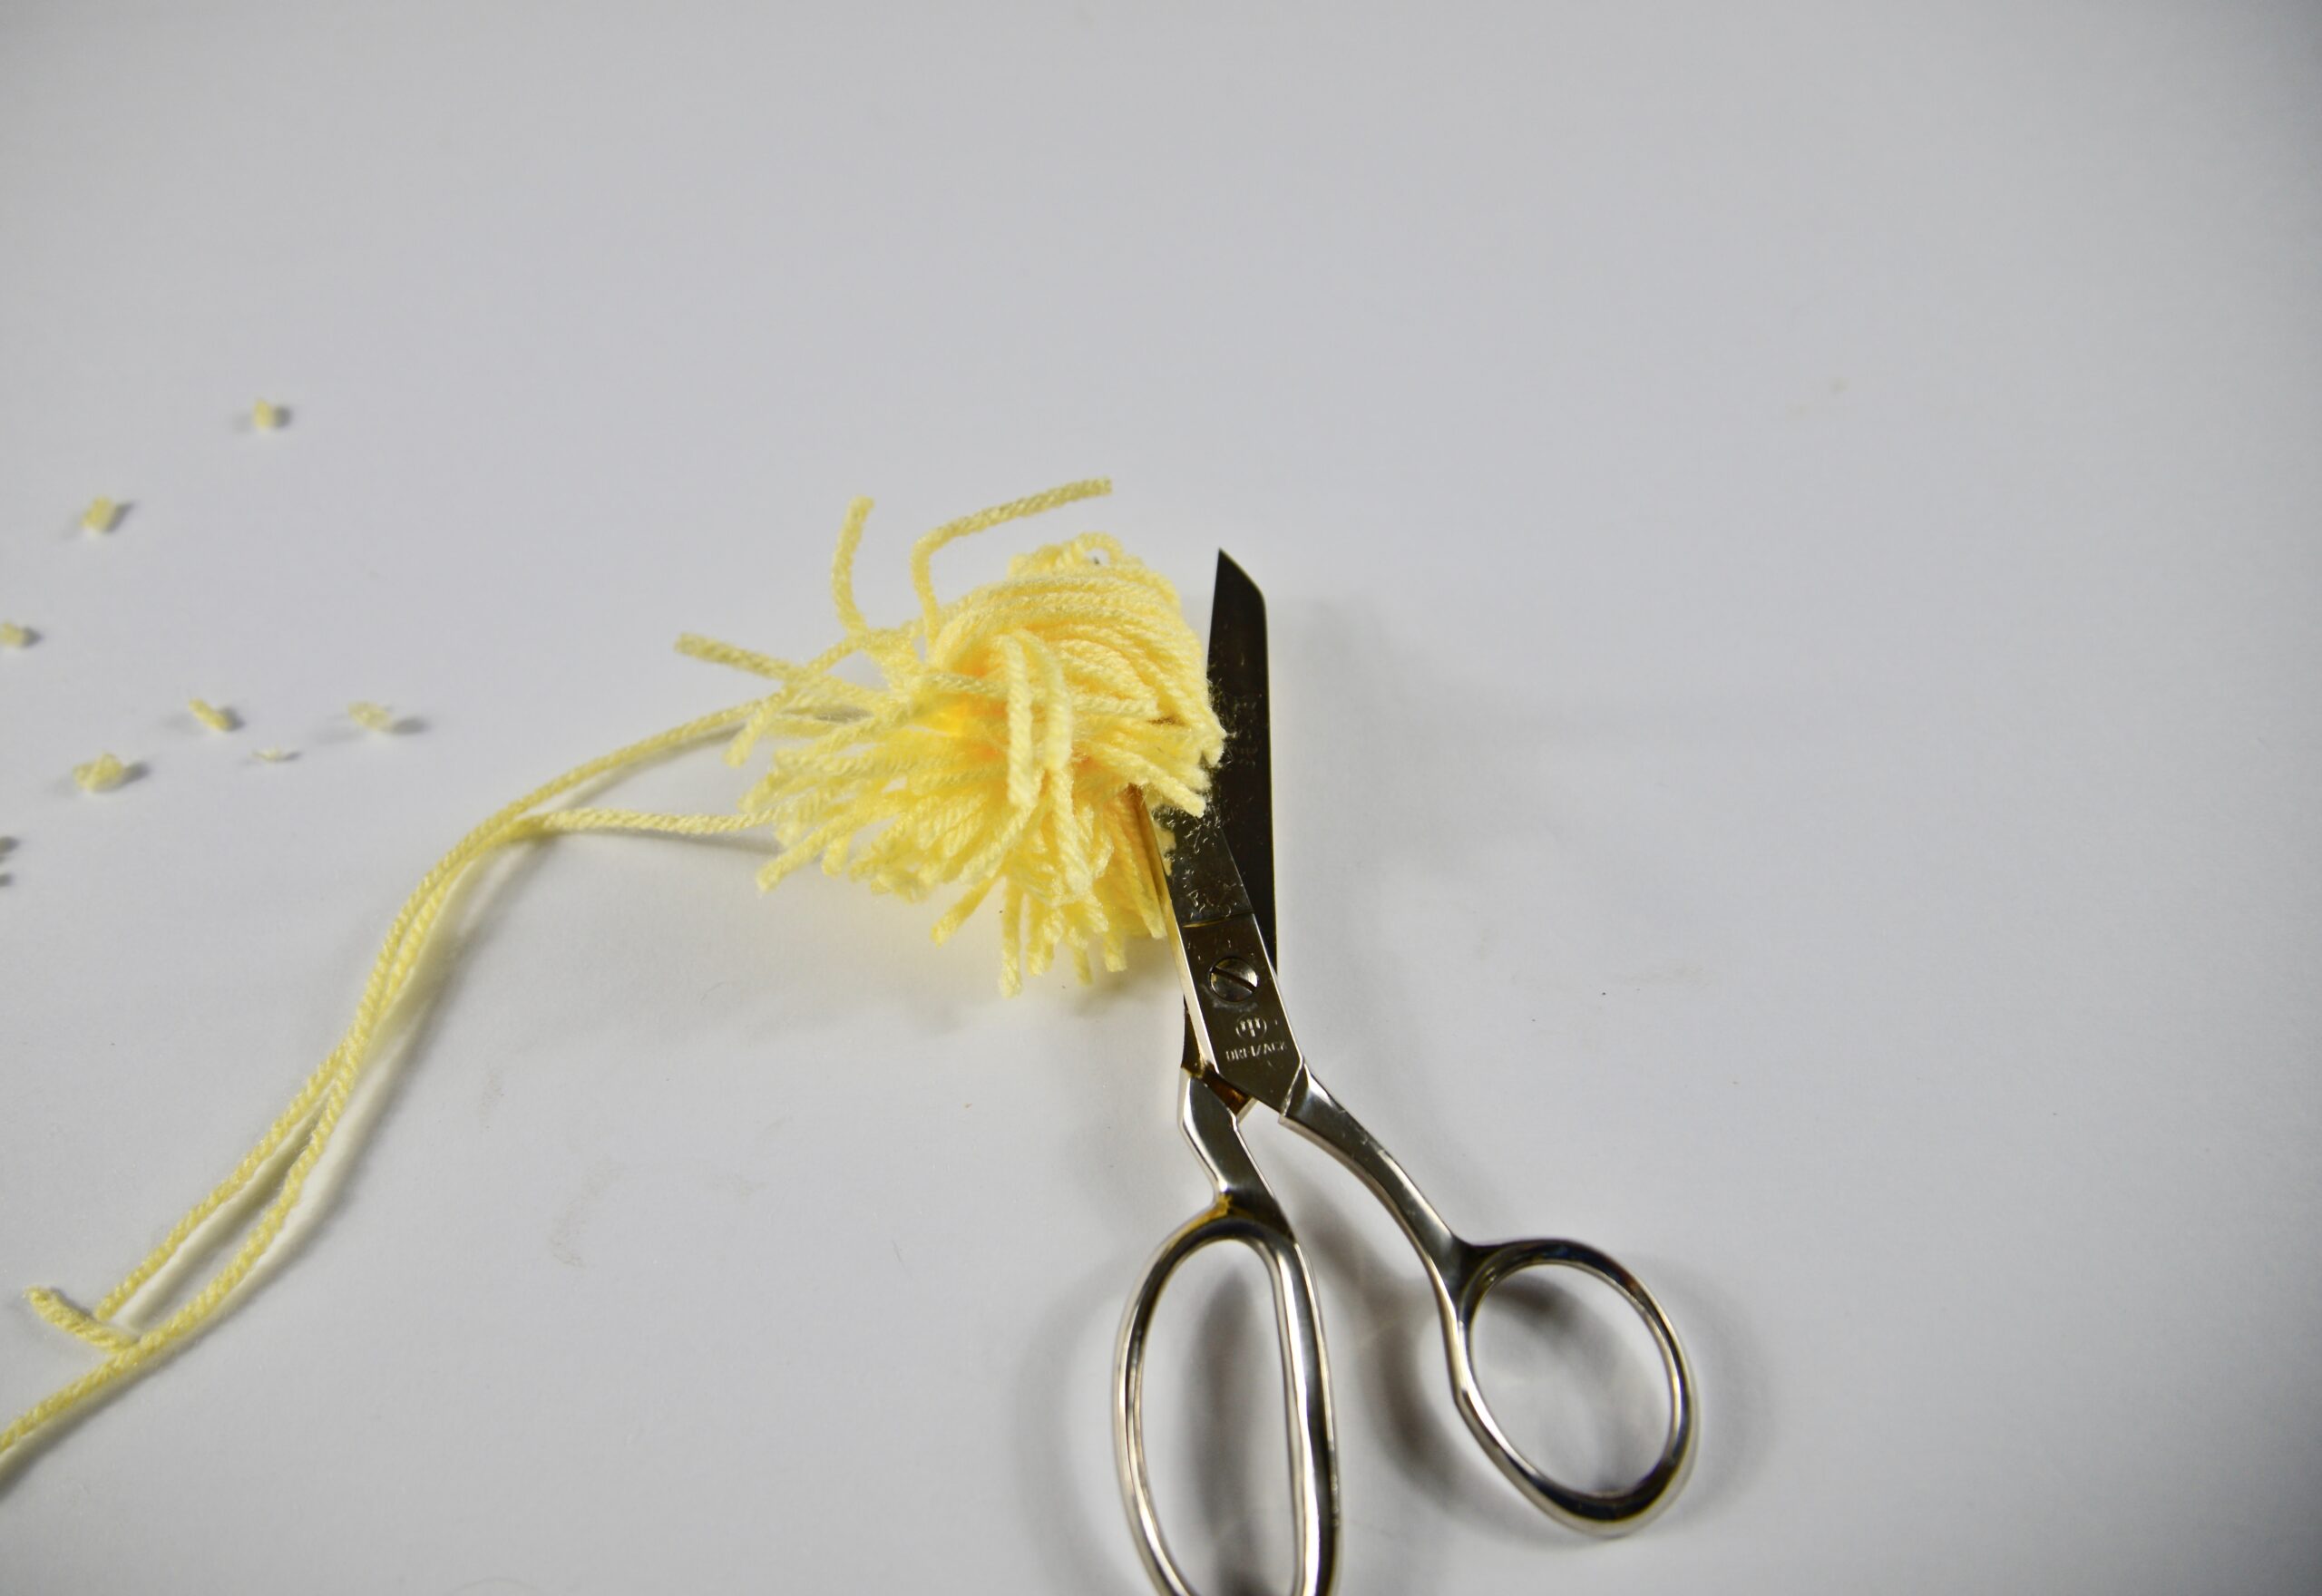
7: Begin shaping the pom pom chick’s body by trimming the yarn. Set this aside.

Making the head of the pom pom chick
7: Simply repeat this process for the head of the pom pom chick. The head is supposed to be just a bit smaller than the pom pom chick’s body.
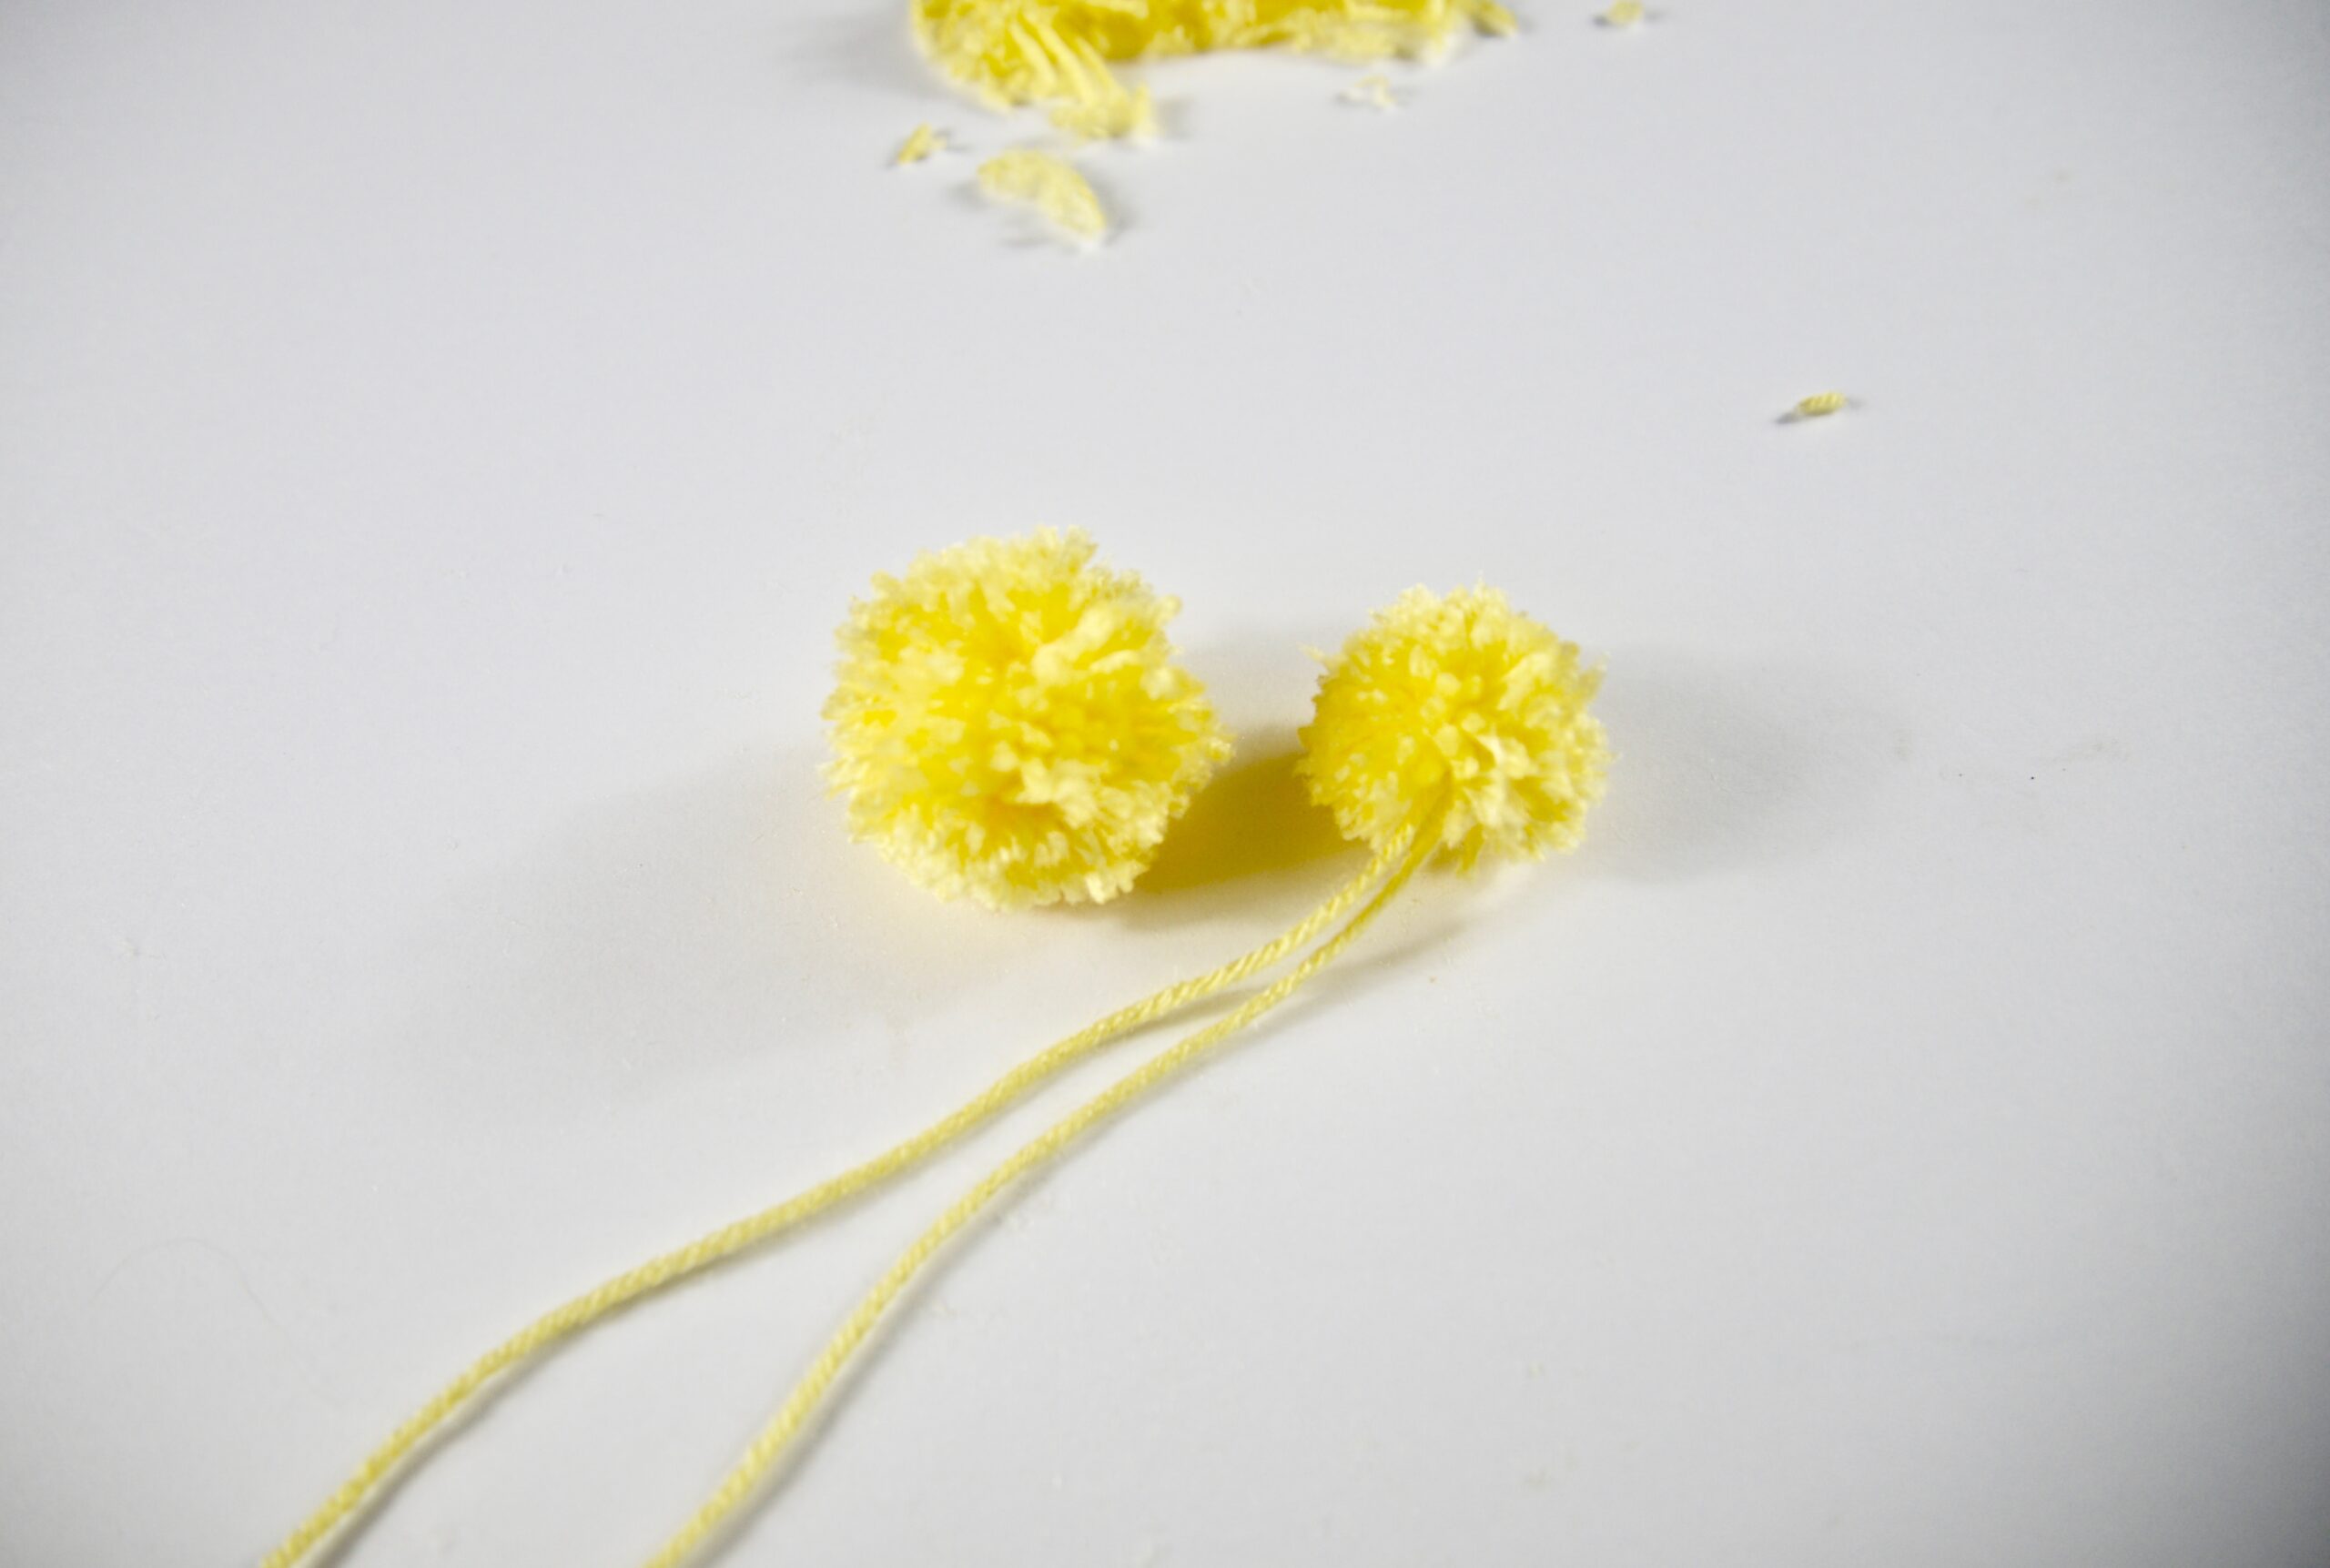
8: Tie the loose strings together to attach the body to the head.
Finishing the pom pom chick
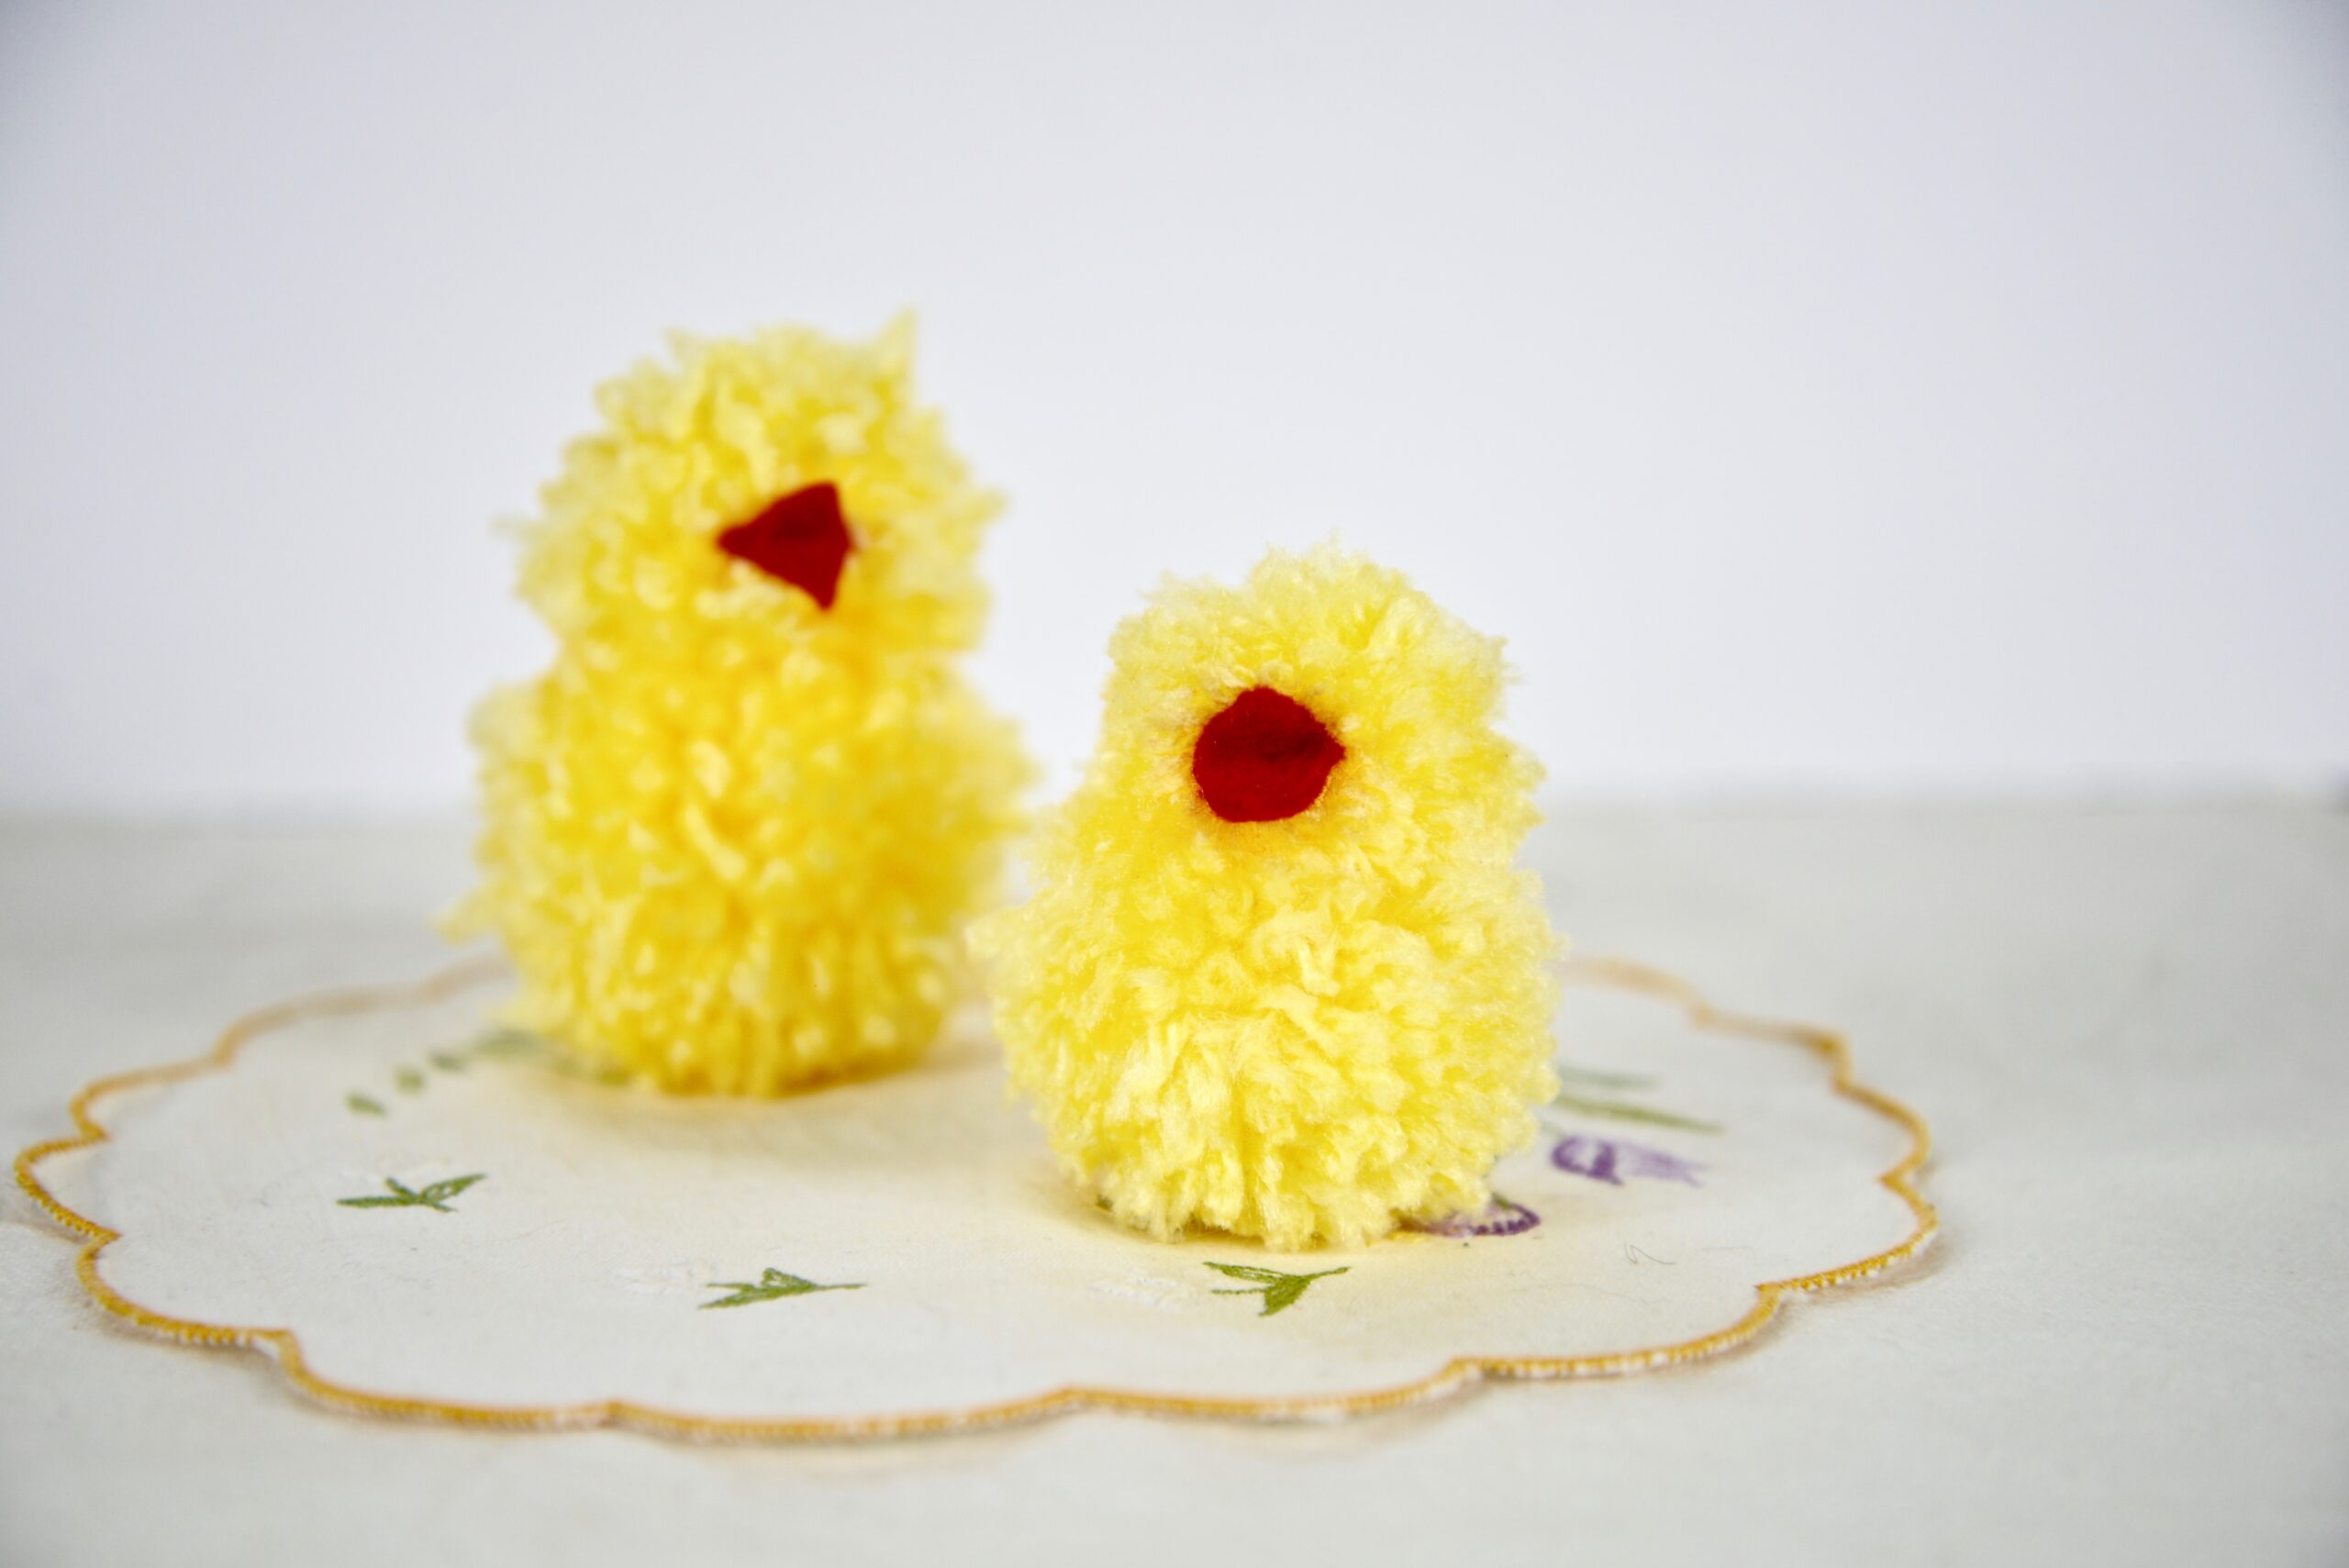
9. From the red felt, cut the beak. I like to cut a folded triangle so it looks like the beak is open. You can also just cut out 1 triangle.
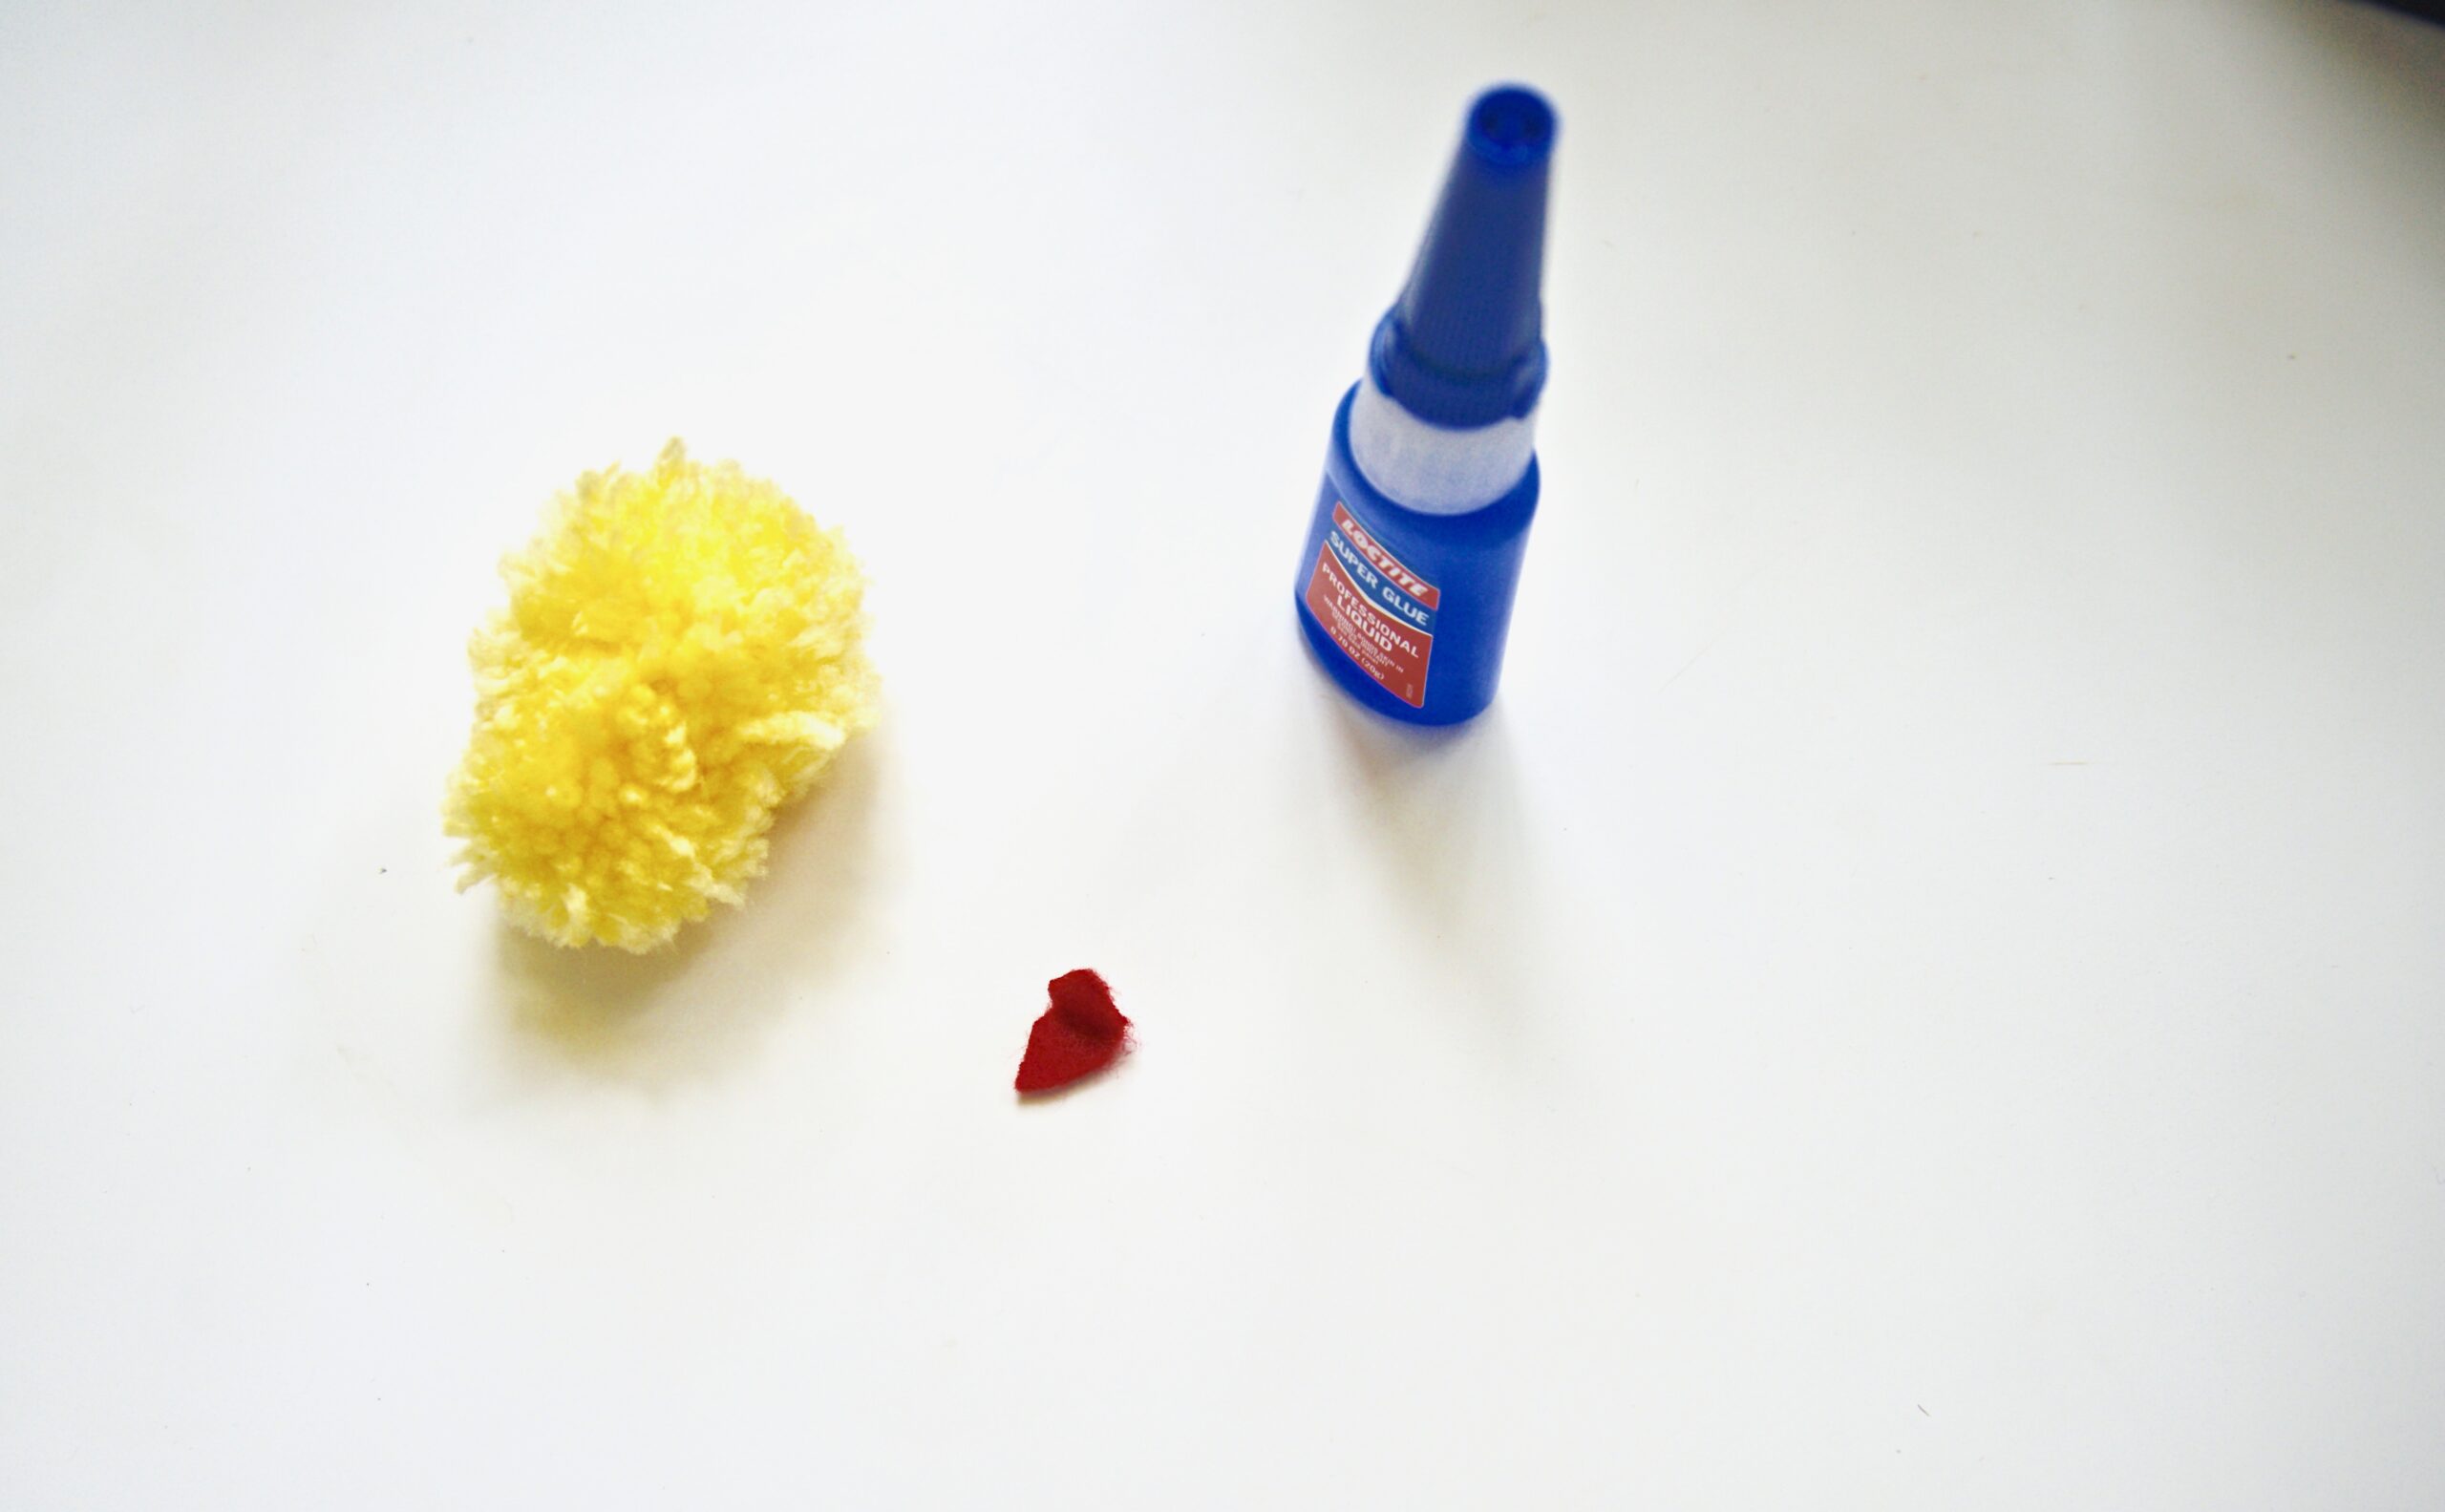
Since I like to keep things simple, I am done. However, you can always add some eyes (from black felt or get real eyes) and feet (from brown felt) if you like.
You can make a few of them and decorate your Easter table with them.
You can also make pom pom bunnies out of brown yarn, or other bird chicks. I am sure you will get more inspired!

Check out my other tutorials:
Simple cloth bags: https://www.ourgabledhome.com/how-to-make-simple-reusable-cloth-bags/
How to darn your socks: https://www.ourgabledhome.com/the-lost-art-of-darning-socks-tutorial/
DIY Beeswax wraps: https://www.ourgabledhome.com/diy-beeswax-wraps/
I’d love to hear from you in the comments below!
Pin for Later:
Great post. I will be experiencing a few of these issues as well..
Very cute, thank you have a wonderful Spring and happy Easter early.
I am glad you like them! Happy making ~ Anja